Question: Why does restaurant food taste different from what I make at home?


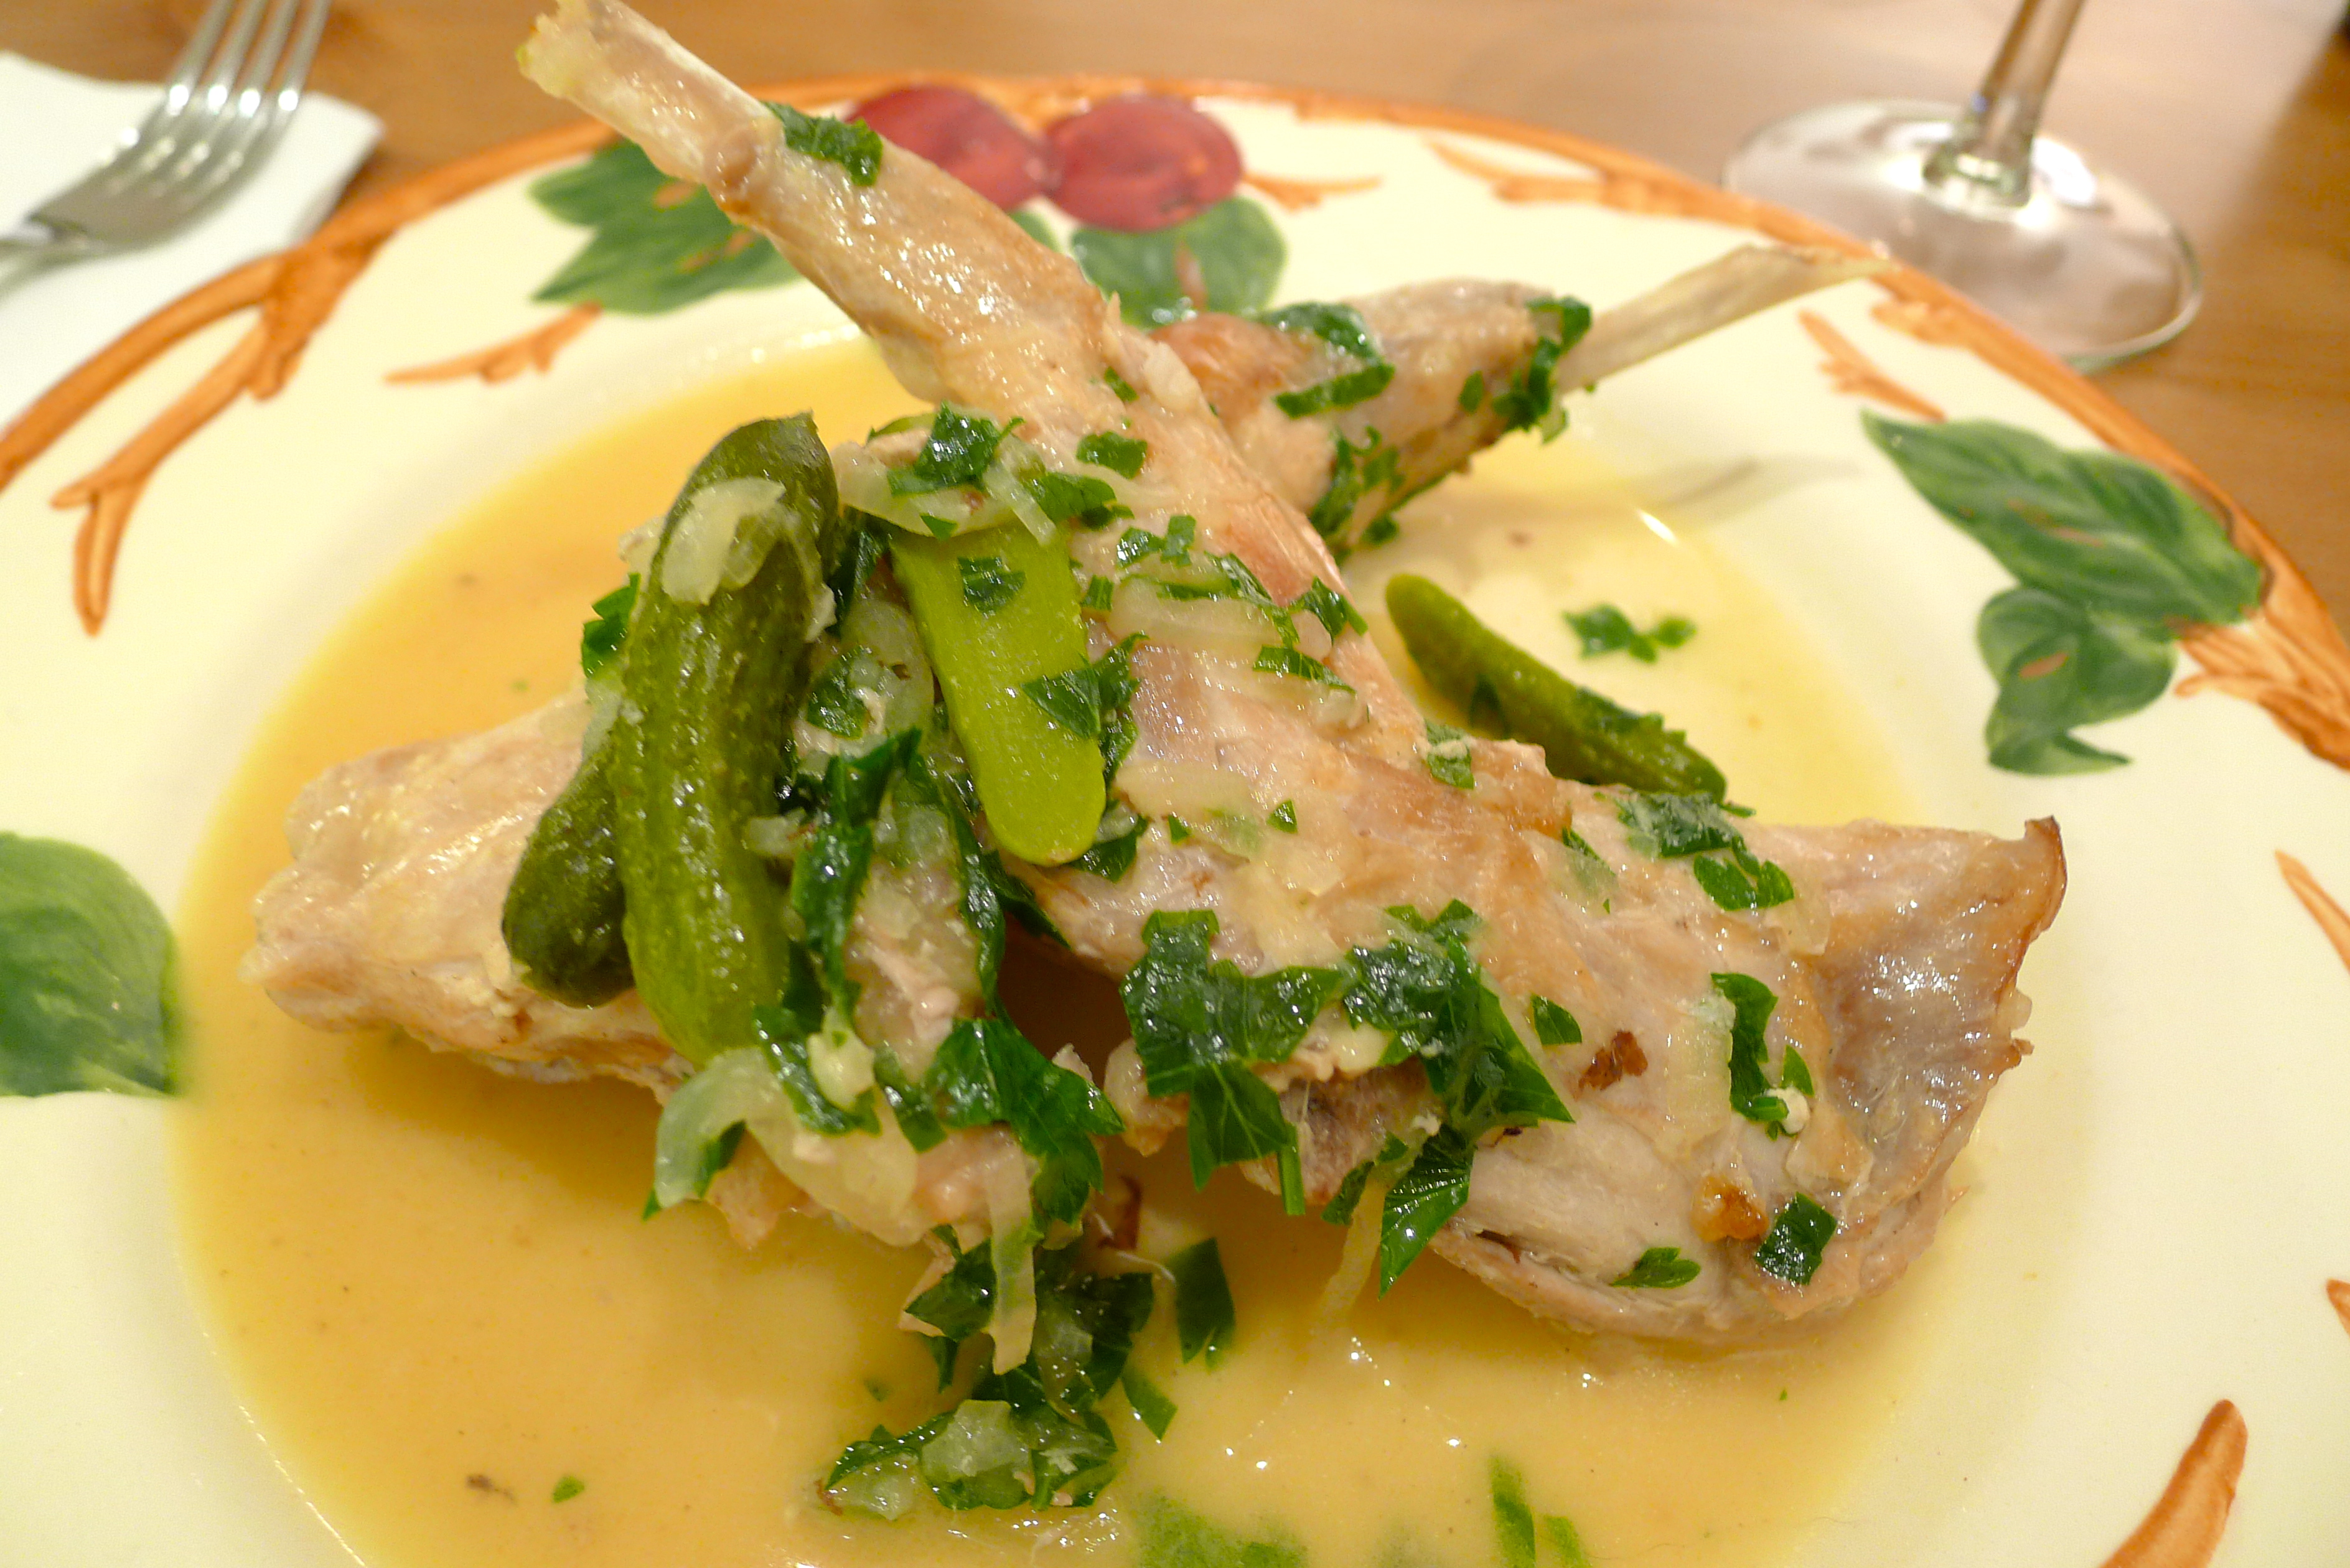
I didn’t make this. It is the work of gastronomic wunderkind, Grant Achatz.

It is beautiful.

It probably tastes like the best day of your life.

Can I make it? I can make a lot of things, but that? Probably not.

Why? Because I’m not Grant Achatz.

That doesn’t mean that food that you make at home can’t taste great. It can probably taste better than what you would get in most restaurants. But it is true. There is a difference.

And I can tell you exactly what it is:

And it ain’t no fancy degree.

1. You might not be cooking with enough salt.

Undersalting, like smoking, is a really hard habit to kick. Salt is flavor. I think that’s the first thing they teach in cooking school. I think that’s why most everything I taste out of culinary school kitchens is way oversalted. That doesn’t mean that you should go way underboard. But you’re probably using way less than what they use in restaurants. So go ahead, salt liberally. Use about double what you normally would, but taste as you go. You’ll notice that there is a threshold, an actual moment when your food goes from tasting good to tasting really, really good. It is pretty much right at the point just a little more salt is a little too much.

2. You might be cooking with the wrong salt.

Does the canister in your kitchen read, “Morton’s”? Does your salt come out in a shower of cube-shaped crystals? Then you are cooking with the saltiest salt on the planet. Not all salt is created equal, so I urge you to get yourself some Diamond Crystal Kosher Salt now.

3. You might not be cooking with enough fat.

You’re probably using nothing compared to what they use in restaurants. So go ahead! Butter up!

4. You might not be cooking with enough real fat.

Low-fat? No-fat? You should say, “No way.” Cooking with low-fat and no-fat products is just asking for gritty, watery food.

And don’t even get me started on fake butter.

Real food is real satisfying. So what it has more fat? Just eat less of it. It’s probably still better for you than the food that they had to overly process in order to take the fat away.

5. You might be cooking with too many ingredients.

Most things really do taste best when the least is done to them. My big pet peeve is cooking with tons and tons of dried herbs. First of all, it just makes your food look like moss. Secondly, it hides the taste of whatever it is you are cooking. Less is really more.

6. You might be over-cooking it.

You don’t actually need a thermometer. Make a really tight fist. Now with your other hand poke the fleshy part of your fist between your index finger and your thumb. That bouncy hard resistance that you feel is what a super well-done steak would feel like if you poked it. Open your hand and make a super loose fist. Touch the same part. That’s what really, really rare feels like. Now, aim for somewhere in-between.

7. You might be over-marinating.

You want mushy meat? Because that is what marinating for too long does. Makes. Meat. Mushy. Doesn’t matter how much “flavor” you think it adds. Mushy meat is gross.

8. You’re probably not making the same dish 60+ times a day, every day.

And thank goodness for that!

Oven-Roasted Asparagus


If I had to say what my absolute favorite way to cook vegetables was, it would be roasting.

I’ve roasted just about everything: beets, cauliflower, broccoli, mushrooms, parsnips, eggplant, zucchini, peppers, carrots, broccoli rabe, tomatoes.

There is something about roasting that concentrates flavors, makes everything taste better. Roasting turns eh-okay tomatoes into something great. Vegetables emerge from the oven with a little char, and a lot of attitude — the good kind.

Now that it is springtime, asparagus spears have been big at the market.

And I love roasted asparagus the most.

To roast any vegetable, I set my oven between 400° to 425°. I wash my vegetables well, cutting them up into relatively equal pieces so that they roast evenly. How big should the pieces be? The fabulous Judith Jones had the best suggestion for this: cut your vegetables into the size you want to eat.

She might have stolen that from Julia.

For asparagus, you will need to trim the woody, inedible bottom ends from the rest of the stalks. How do you this? Hold the base of the stalk firmly and bend. The stalk should snap right at the point between the tough end and the tender one. To visualize this, here is a handy video clip. Discard the ends.

Evenly spread the vegetables out on a parchment paper-lined baking sheet. Drizzle good olive oil over them. Sprinkle them liberally with with flaky salt (I like Maldon salt), and add a few turns of the pepper mill. With your hands, toss the vegetables together to make sure that they are all coated with the oil and the seasoning. Spread them back out in an even layer on the sheet.

The roasting time varies depending on what you are roasting, and how big your vegetable pieces are. Asparagus cooks fairly quickly, no longer than 10 minutes. You want to remove the stalks from the oven when they are slightly blistered and charred — that goes for all vegetables, except for eggplants, tomatoes, and mushrooms (you want those a little more roasted). I would say experiment. Check on your vegetables after every 7 or 8 minutes. You will figure out eventually what times work best for you.

After your vegetables are roasted, transfer them to another dish. The great thing about roasted vegetables is that you can even serve them at room temperature, which is great because you can roast them ahead of time and not worry about them while you are finishing cooking the rest of your meal.

Sometimes, I like to grate some Parmesan on top before serving, or add a spritz of lemon juice.

Taco Salad

Taco salad is easy to mock. Is it a salad? Isn’t it just a giant fried flour tortilla bowl full of calories? When Budweiser can sell beer by exploiting taco salad’s paradoxical nature in a very funny commercial, you know it probably isn’t that good for you.

But why can’t it be? Why not swap out the edible bowl for a just a few high-quality tortilla chips, and use really good, super lean grass-fed beef. Why not replace the iceberg lettuce (John Waters always calls iceberg lettuce the polyester of greens) with bright, crunchy, vitamin-packed Romaine? Why not throw in some organic cherry tomatoes? Just a sprinkling of good shredded cheese, the hormone-free stuff?

And forget the heavy Ranch dressing or giant scoop of sour cream. If your core ingredients are good, just a spritz of lime juice should do the trick.

Ingredients:

1 pound of very lean ground beef

2 tablespoons of olive oil

1 white onion, chopped

2-3 garlic cloves, minced

1/2 teaspoon of dried oregano

1/2 teaspoon of ground cumin

1/2 teaspoon of paprika

1/4 teaspoon of chili powder

Salt and pepper

1 head of Romaine lettuce, cut crosswise into 1/4-inch ribbons

1 cup of shredded cheese

1 pint of cherry tomatoes, diced

Tortilla chips

Lime wedges

How to prepare:

1. Heat the oil in a large heavy saucepan over medium-high heat. Add onion and garlic. Sauté them together until the onion is slightly softened, approximately 2-3 minutes. Add the beef and the spices. Cook until the meat is no longer pink. Adjust the seasoning. Turn off the heat and begin assembling the salad.

2. Make a bed of about a cup of lettuce in the bottoms of 4 good-sized individual salad bowls. Drain the beef if there seems to be a lot of oil or liquid in the bottom of the pan. Top each bed of lettuce with a scoop of ground beef, followed with the cheese, and then the diced tomatoes. Squeeze a lime wedge or two over the top. Serve with chips on the side.

Chicken Florentine


Last night, I had some chicken breast in the fridge that I had to do something with, along with some baby spinach and a nice wedge of Parmesan. As I was thinking, this image of sliced, pan-fried chicken smothered in cream sauce on a bed of fettucini suddenly came floating up to the surface of my mind.

Before I knew it, I had recreated a night at the Olive Garden.

How did this happen? It was as if I had taken a trip on the High School Nostalgia Express. Maybe I was subconsciously channeling those commercials that have been airing on television lately for the Olive Garden cooking school in Tuscany. The one where they presumably teach students how to make American Chain-Restaurant food in middle of the rolling Tuscan hills.

Because Chicken Florentine is really American. As American as apple pie. You’ll never find it in Italy. It is interesting to note though that, historically speaking, the origins of “Florentine” preparation trace their roots back to Florence-born Catherine de’Medici and her legendary merry band of French cooks. What made a dish “Florentine” was not the spinach, but the white sauce that her French cooks made: the besciamella, or béchamel.

It’s anyone’s guess how spinach got involved in all of this.

But just because Chicken Florentine might find its roots more in Hoboken than Florence, that doesn’t necessarily make it bad. In fact, on a cold spring night, it’s pretty darn good.

God bless the USA!

Ingredients:

4 boneless, skinless chicken breasts

1/4 cup of flour

Salt and pepper

4 tablespoons of olive oil

2 tablespoons of butter

1/2 cup of white wine

2 packed cups of baby spinach

4 cloves of garlic, minced

1 1/2 cups of heavy cream

1 cup of freshly grated Parmesan

A healthy pinch of freshly grated nutmeg

Salt and pepper to taste

1/2 pound of dried fettucini

How to prepare:

1. Bring a large pot of salted water to boil.

2. In the meanwhile, pat the chicken breast dry with paper towels. Sprinkle each breast liberally with salt and pepper on all sides. Dredge them in the flour, and shake off any excess. In a large skillet, heat the olive oil over medium heat until it is shimmering. Add the chicken breasts to the pan in a single layer. Pan-fry them until they are golden-brown on both sides and cooked through, about 5 minutes per side. Transfer them to a plate while you prepare the rest of the dish.

3. Your water should be boiling by now. Add the fettucini and boil them until they are al dente. Drain the pasta and set aside if it is done before all the other elements.

4. While the fettucini is boiling, melt the 2 tablespoons of butter in the same skillet over medium heat. Add the white wine to the pan, stirring to scrape up and dissolve any of the browned bits on the bottom of the skillet. Add the spinach and the garlic. When the spinach has wilted slightly, add the cream, Parmesan, and nutmeg. Stir to combine. Simmer the mixture, stirring often, until the sauce has begun to thicken. Adjust the seasoning carefully (the cheese should add a fair amount of saltiness).

5. Cut each chicken breast into half-inch slices. Mound a quarter of the fettucini in a warm pasta bowl. Top the fettucini with a sliced chicken breast and spoon a quarter of the sauce on top. For a little brightness, you could serve the bowls with a nice, fat lemon wedge to squeeze.

Spicy Miso Dip


I recently made dinner for Laura at her apartment. Saddled with overwhelming piles of work, she seemed on the verge of exhaustion and in much need of some TLC. As I like playing personal chef, I was more than happy to oblige.

I didn’t have much for lunch that day and was scrounging around in her fridge for something to nibble on while cooking. She directed me to some miso dip that she had made earlier, and a nice little mound of snow peas. Maybe she hadn’t thought that I would eat all of her snow peas and inhale the dip like air . . . but I did.

Sorry, Laura.

This recipe is a riff on her riff on a recipe posted by blogger extraordinaire, Heidi Swanson. Heidi’s website (she has a cookbook too), 101 Cookbooks, is a treasure trove of delicious, healthy recipes that taste great and make you feel good. As the weather gets oh-so-slowly warmer, eating more fruits and vegetables sounds like a welcome and wholesome idea.

Ingredients:

3 ounces of white miso paste

3 ounces of red miso paste

1/4 cup of sake

1/2 cup of mirin

4 tablespoons of agave syrup

Red chili pepper flakes to taste

How to prepare:

1. Combine the miso pastes, the sake, the mirin, and the agave in a small saucepan. Bring the mixture to a boil over. Once the mixture has started to boil, reduce the heat and simmer it for about 20 minutes, whisking occasionally. You want the dip to thicken a bit.

2. Once it has thickened, add the chili pepper flakes. Remove the dip from the heat and let cool. The dip will keep in the refrigerator for between 1-2 weeks. Serve with fresh vegetables, blanched asparagus, anything really!

Gabrielle Hamilton’s Braised Rabbit


Rabbit is a tricky thing to cook. Braising is the usual method — something that always always puzzles me as rabbit is very lean, and there really isn’t any tough connective tissue to break down by slow, low cooking.

Shorts ribs, it is definitely not.

I also have this sad tendency to slightly overcook my rabbit, leaving the meat a little on the tough side. It’s as if the bunny was tensing up in order to leap out of the pot to give me the finger.

But when I tried Gabrielle Hamilton’s recipe for braised rabbit published in the New York Time a few weeks ago, the dish turned out like a dream.

I didn’t actually have the 8 hind legs called for in the recipe, just one rabbit that I had butchered myself into 6 pieces. If you have never broken down a whole rabbit before, here is a good step-by-step tutorial from Saveur. If I were to do it again, I might butcher two rabbits — leaving me with a nice mess of fore and hind legs — and save the loins and saddles for another dish calling for rolling and stuffing.

Ingredients:

1 rabbit (about 2 1/2 pounds), cut into 6 pieces

Salt and pepper

2 tablespoons of vegetable oil

4 large shallots, thinly sliced

1/3 of a cup of cornichons, halved

1/4 of a cup or cornichon brine

3 tablespoons of white wine vinegar

3-4 cups of chicken stock

4 tablespoons of butter, cut into cubes

1/3 of a cup of Italian parsley, chopped

1. Preheat the oven to 350°.

2. Season the rabbit pieces liberally with salt and pepper. In a large, heavy Dutch oven, heat the two tablespoons of vegetable oil over medium-high heat until it starts to shimmer. Sear the rabbit pieces on both sides. Transfer the browned pieces to a plate.

3. Lower the heat to medium. In the same pan, sauté the shallots until they are tender but not browned. Add the cornichons, brine, and vinegar. Bring everything up to a simmer. Return the rabbit pieces and any accumulated juices to the pan, spreading the rabbit out as evenly as you can over the bottom. Add just enough chicken stock so that the rabbit pieces are covered by about 1/2 inch of liquid. Bring the liquid to a boil and then turn off the heat.

4. Cover the pan and bake until the rabbit is tender, about 45 minutes. The next time I do this, I might use a meat thermometer. Rabbit should be done at 135° – 140°. The recipe says that if you can easily bend the leg at the joint, your bunny is done.

5. Remove the pan from the oven and transfer the rabbit pieces to a plate. Keep the pieces warm while you finish the sauce. Return the pan to the stove top and boil the liquid until the sauce has been reduced by about half. Whisk in the cubes of butter one at a time. The sauce should be nice and glossy. Add the rabbit back to the pan to just reheat it. Before serving, stir in the parsley. 

Essential Equipment: Good Cutting Board


Here is another post in which I bully you gently persuade you to make better and more esthetically-pleasing choices in the kitchen.

You need a good cutting board.

I am always amazed by people — good, cooking people — who get by with shitty cutting boards, or (gasp!) no cutting board at all.

My mother, for example, is an excellent cook. However, whenever I cook in her kitchen I am always at a loss for why she doesn’t have one.

“Mom!” I sputter while wielding her very expensive, full-tang Wüsthof and gesturing at the pebbled glass “counter-saver” in her kitchen. “Really? No, really?”

Why should you have a good cutting board?  Why should you care?

Because:

1. It doesn’t flatten out the edge of your nice knife and keeps it sharp for longer.

2. If you don’t have a nice knife, it makes your okay knife feel like a better knife.

3. It gives you a good work surface. Watch any episode of any of Jacques Pépin’s cooking shows. See those neat little piles of celery, onion, and carrots that he always has sitting in a cool row? That, my glorious Friend, can be you.

4. It really does make life easier.

Okay. So what should you NOT buy?

1. Don’t buy glass.

2. Don’t buy those horrible bendy plastic sheets shaped like cut apples or tomatoes.

3. Don’t buy one of those gigantic wood blocks made up of cubes of end-cut pieces of oak, weighing 30+ pounds. You’ll never like using it because it is a total pain to clean and move around.

Buy something that makes cooking an enjoyable experience for you, something that will ultimately enhance your experience of cooking. My mother despises cutting up vegetables. But if I had to whack away at carrots and onions on a piece of glass with a heavy knife that was getting duller and duller by the second, I would really hate it too.

What you SHOULD look for:

1. A wooden board. If you must buy plastic, please do invest in a good plastic board — not that cheap white thing from IKEA that acquires all kinds of nasty stains and smells. The kind that, after a while, starts to leave little threads of nylon in your food. The kind that is “dishwasher-safe,” yet comes out of the dishwasher weirdly warped and partially melted. Don’t buy that kind of plastic board.

2. Buy a board that you can put really hot things on with impunity. I can’t tell you how many times my cutting board doubles as a hot pad or a trivet, or the number of times that I have had to carve, plate, or garnish something hot on it. Note: you can’t really put hot things on a plastic board, even if the manufacturer’s label says you can.

3. Don’t buy a wooden board that is too hard. Some are really dense. You might as well cut on glass. A lot of people like bamboo because it’s nice and cushy.

4. If you get any board, get one that’s big enough so that you can do work on it. Sometimes I’ve seen friends try to carve a chicken on a board the size of a chick.

5. Get a board that looks good enough to double as a nice presentation board for cheese and salumi if needed.

If you buy a wooden board, please do take care of it.

How to take care of your wooden board:

A good wooden board is an investment. Maintain it well, and it will last you for years and years, getting better over time. If it’s a particularly expensive board, and the work surface side is really beat up, you can always sand it down and be proud of your newly toned arms and your good-as-new board.

All brand-new wooden boards look nice and shiny from the thin layer of factory-wax that they spray on them. Do they stay that way on their own? Sadly, no. After washing or wiping your new wooden board several times, you will find that your board is no longer slick and bright.

So what do you do?

You have to seal it by moisturizing it. Why? Keeping your board well-maintained serves a multitude of functions. First of all, it prevents the board from dying out and cracking — which really makes for a more hygienic board if you think about it. Secondly, it makes your board water-resistant — which is also more hygienic as it is unlikely to absorb any liquid. This will prevent something from growing in or on it, like mold. Third, a well-maintained board doesn’t warp and stays flat. Flat, even surfaces are much safer to cut on.

Most people use mineral oil, a neutral oil that will not get rancid over time like olive oil. It’s cheap, it works. You smear a thin layer all over your board. Don’t forget the edges. Let it sit overnight. With a paper towel, wipe off the excess oil in the morning, and you are on your way to good board maintenance.

Lately I have been using this stuff called Boos Block Board Cream. It’s amazing, and lasts longer than any oil treatment. It’s like body butter for your cutting board. It weirdly leaves my hands silky smooth too.

Yikes, this all sounds like a lot of work! I don’t have a whole lot of time, how often do I have to do this moisturizing business?

More often in the beginning, and less so as you go along. But really, board maintenance only takes about a minute and is really worth it. Now I rub my board down every four or five weeks or so. Sometimes more often, sometimes less often depending on how much I have been using it. Do it at night before you go to bed. It takes about one minute. Then, clean it up later. This also takes about one minute.

Once you get in the habit of it, you will find that you don’t even think about it anymore.

Remember: Don’t leave your wooden board in standing water. Don’t scrub it with rough scouring pads. Don’t put wood in the dishwasher. Peer-reviewed research has been done that shows that wood is naturally antibacterial, so don’t kill yourself trying to “disinfect” it.

For more cutting board maintenance, I refer you to the John Boos boys.

Strawberries Dipped in Chocolate Caramel Sauce


Chocolate-covered strawberries get a bad rap. It’s perhaps not so surprising: the majority of ones in this country are sold in February, when strawberries are completely out-of-season.

Now I have nothing against partaking in enrobed fruit for Valentine’s Day, but strawberries bought in the middle of winter are usually shipped from South America, freakishly oversized, and stunningly tasteless despite their glossy red exteriors.

The chocolate sarcophagus they come in isn’t always very appetizing either.

But it is finally springtime — officially the start of strawberry season. Now is the time to see that chocolate-covered strawberries done right can be a sinfully sloppy mess.

How can you tell if a strawberry is ripe?

Smell it. Does it smell like a strawberry? No? Put it down. Walk away. Yes? Is it a full-on, luscious, musky strawberry-smell? Buy. Now. Buy buckets of them.

This sauce is fantastic. So easy and so versatile. Dredge fruit in it, or even better, drizzle warm gobs of it over vanilla-bean gelato. Or just eat it out of the pot. It’s fabulous.

Ingredients:

1 pint of ripe strawberries, washed and gently patted dry

1/4 cup of sugar

1/2 cup of heavy cream

2 ounces of semi-sweet chocolate (no more than 70% cacao), broken into smaller pieces

1/8 teaspoon of sea salt

How to prepare:

1. Cook the sugar in a small dry saucepan over moderately high heat, undisturbed, until it begins to melt, about 2 minutes. Continue to cook, tipping the pan from one side to the other, until the sugar has melted into a deep golden caramel, about 1 to 2 minutes. To help visualize this, here is a handy profanity-free video with Gordon Ramsay.

2. Remove the caramel from the heat and carefully pour in the cream. The cream will steam and bubble vigorously. Once the bubbles begin to subside, return pan to moderately low heat and cook, stirring or whisking constantly, until the caramel has dissolved. If the caramel does not seem to dissolve completely, add 1 to 2 teaspoons of water at a time, stirring, until it has dissolved.

3. Turn off the heat and continue to stir or whisk the caramel to cool it down a little bit. Add the chocolate and the salt. Stir or whisk the chocolate into the caramel. The sauce should be thick and glossy when you are finished.

4. Dip the strawberries in the sauce and arrange them on a plate. Serve them to someone you want to make happy.

Caldo Verde


It is officially spring in New York, but it certainly doesn’t feel like it. It feels schizophrenic actually as beautiful sunny days alternate with dark gray ones filled with freezing rain and hail.

Yeesh.

This has led to a kind of odd assortment of things to eat at home as I vacillate between going out with friends for dinner (it’s so nice out!) and wanting to stay at home and burrow under the covers until the chill finally goes away.

While perusing the contents of my fridge and freezer yesterday to see what I could whip up for dinner from its random contents, I was super happy to find a pair of CSA chorizo hiding behind some frozen loaves of bread to go along with a nice bunch of kale in the crisper.

I love the combination of kale and chorizo. There is something about the clean bitterness of the leaves that marries so beautifully with the spiciness and bite of the sausage. The flavors always make me think of sunnier places like Spain and Portugal. Places where I can eat standing upright in a bar, tossing cheap paper napkins on sawdust-covered floors willy-nilly.

This soup is good for this strange weather we have been having. It’s warming and comforting, but full of bright, big, assertive flavors. It gets even thicker and spicier overnight.

Ingredients:

1 large yellow onion, finely chopped

1 tablespoon of olive oil

3 yukon gold potatoes (about 1 pound), halved and cut crosswise into 1/8-inch thick slices

4 cups of chicken stock

1/2 pound of chorizo, cut into half-inch pieces

1 big bunch of lacinato or Tuscan kale, cut crosswise into 1/2-inch ribbons

Salt and pepper to taste

How to prepare:

1. Heat the tablespoon of oil over medium heat in a large, heavy-bottomed casserole. Sauté the chorizo in the hot oil until it is browned, about 5 minutes. Transfer the chorizo to paper towels to drain.

2. Pour off any excess oil in the pot, leaving about 2 teaspoons. Sauté the onion in the same pot over medium heat until the onion begins to become golden. Add the potato slices to the onions and toss them together. Continue to cook both for about 4 minutes more. Add the chicken stock and bring everything up to a simmer. Continue to cook the soup until the potatoes are very tender.

3. Using a potato masher, coarsely crush about half of the potatoes in the pot. Add the chorizo back to the pot and continue to simmer the soup for about 5 more minutes. Add the kale and continue to cook the soup for about 10 minutes more. Adjust the seasoning now, keeping in mind that the chorizo will probably add a fair bit of saltiness to the soup.

4. Let the soup stand about 10 minutes before serving. It will get even thicker and spicier overnight.

Milk and Honey Roasted Spare Ribs (St. Louis-Cut)


Over the years, I have come across a fair number of recipes for pork cooked in milk.

Pork? Yes. In milk? Yes.

Very un-kosher.

I’m not exactly sure of where the technique finds its origins. Italy probably. The esteemed Elizabeth David cites the Veneto in particular, but I’ve also heard Bologna. Naples even.

In any case, if you don’t mind flouting several dietary laws at once, this is a pretty awesome way to ring in Spring and celebrate Biblical bounty in a truly transgressive way.

Yes, Friends, we are cooking cloven-hooved creatures in milk and honey!

A few weeks ago I got an amazing rack of ribs in my CSA share. Serendipitously, the NYT published a series of recipes about roasting ribs in the oven. Meant to be? A secular sign?

Yes!

Though the ribs take a good 2 hours or so to cook, the milk acids make the meat meltingly tender. The milk proteins and sugars create the most delectable crust. It’s like meat lollipops dipped in dulce de leche.

It’s not gross, it’s Italian.

Ingredients:

1 rack of St. Louis-cut spare ribs, or two racks of baby back ribs

2 tablespoons of olive oil, plus 2 tablespoons

2 tablespoons of fresh rosemary, chopped

3 cloves of garlic, finely minced

Salt and pepper to your liking (I like about about a teaspoon of salt and a good couple grinds of pepper)

1 yellow onion, peeled and halved

2 bay leaves

2 tablespoons of red wine vinegar

2 tablespoons of honey

2 cups of whole milk

1 cup of heavy cream

How to prepare:

1. If you haven’t done so yet, remove the membrane from the back of the rack of ribs. Flip the ribs bone-side up. Using the flat handle of a spoon or a butter knife, loosen the membrane from one end of the rack of ribs. Grasp the loosened end with a paper towel and pull the membrane slowly in the direction of the opposite end. It will probably come off in one piece but if not, you can just grab the torn end and continue. To help visualize, here is a pretty great Youtube how-to clip from BBQTalk.

2. In a small bowl, mix together the oil, rosemary, 2 tablespoons of olive oil, salt and pepper with your fingers. Lay the ribs out on a large sheet of plastic wrap. Rub the mixture all over the ribs. Arrange the ribs on top of the onion halves. Lay the bay leaves on top, and sprinkle the ribs with the red wine vinegar. Wrap the ribs up tightly in plastic wrap and refrigerate them for between 6 to 12 hours.

3. Set the oven to 350°. Remove the ribs about 30 minutes to an hour before roasting.

4. Pour the remaining 2 tablespoons of olive oil into the bottom of a heavy-duty sheet pan. Heat the oil in the oven for about 5 minutes. Add the onion halves and the ribs — rounded side-up — in the pan and roast them for 30 minutes. Drizzle the ribs with the honey and roast them for about 10 minutes more. Then, turn the ribs over and pour the milk and cream over them. Roast the ribs for another hour.  After an hour, if you notice that the ribs are starting to brown too much, cover them with a sheet of parchment paper or aluminum foil. Continue to cook them for another 30 minutes to an hour more until they are tender enough for you to be able to pull the ribs apart with your fingers.

5. Remove the ribs from the oven and let them rest on a cutting board for about 5 to 10 minutes. Cut the ribs into sections and serve immediately.