High Point Farms Buyers Choice CSA! Sign Up Now!


As many of you know, one of the major inspirations for this blog was High Point Farm’s Meat CSA — my very first CSA ever.

CSA stands for Community Supported Agriculture. The basic CSA model is that you become a member of the farm, pay for a certain amount of food up front and come to pick up your “shares” at designated times throughout the season. CSA’s have all kinds of benefits. First of all, you support local agriculture, sustainable and environmentally- sound farming practices, and small farms. Second of all, you are able to form a relationship directly with your farmer. You learn about how your food is raised, how it is harvested, how your food gets to your table.

Most importantly, you get the best quality food for your money.

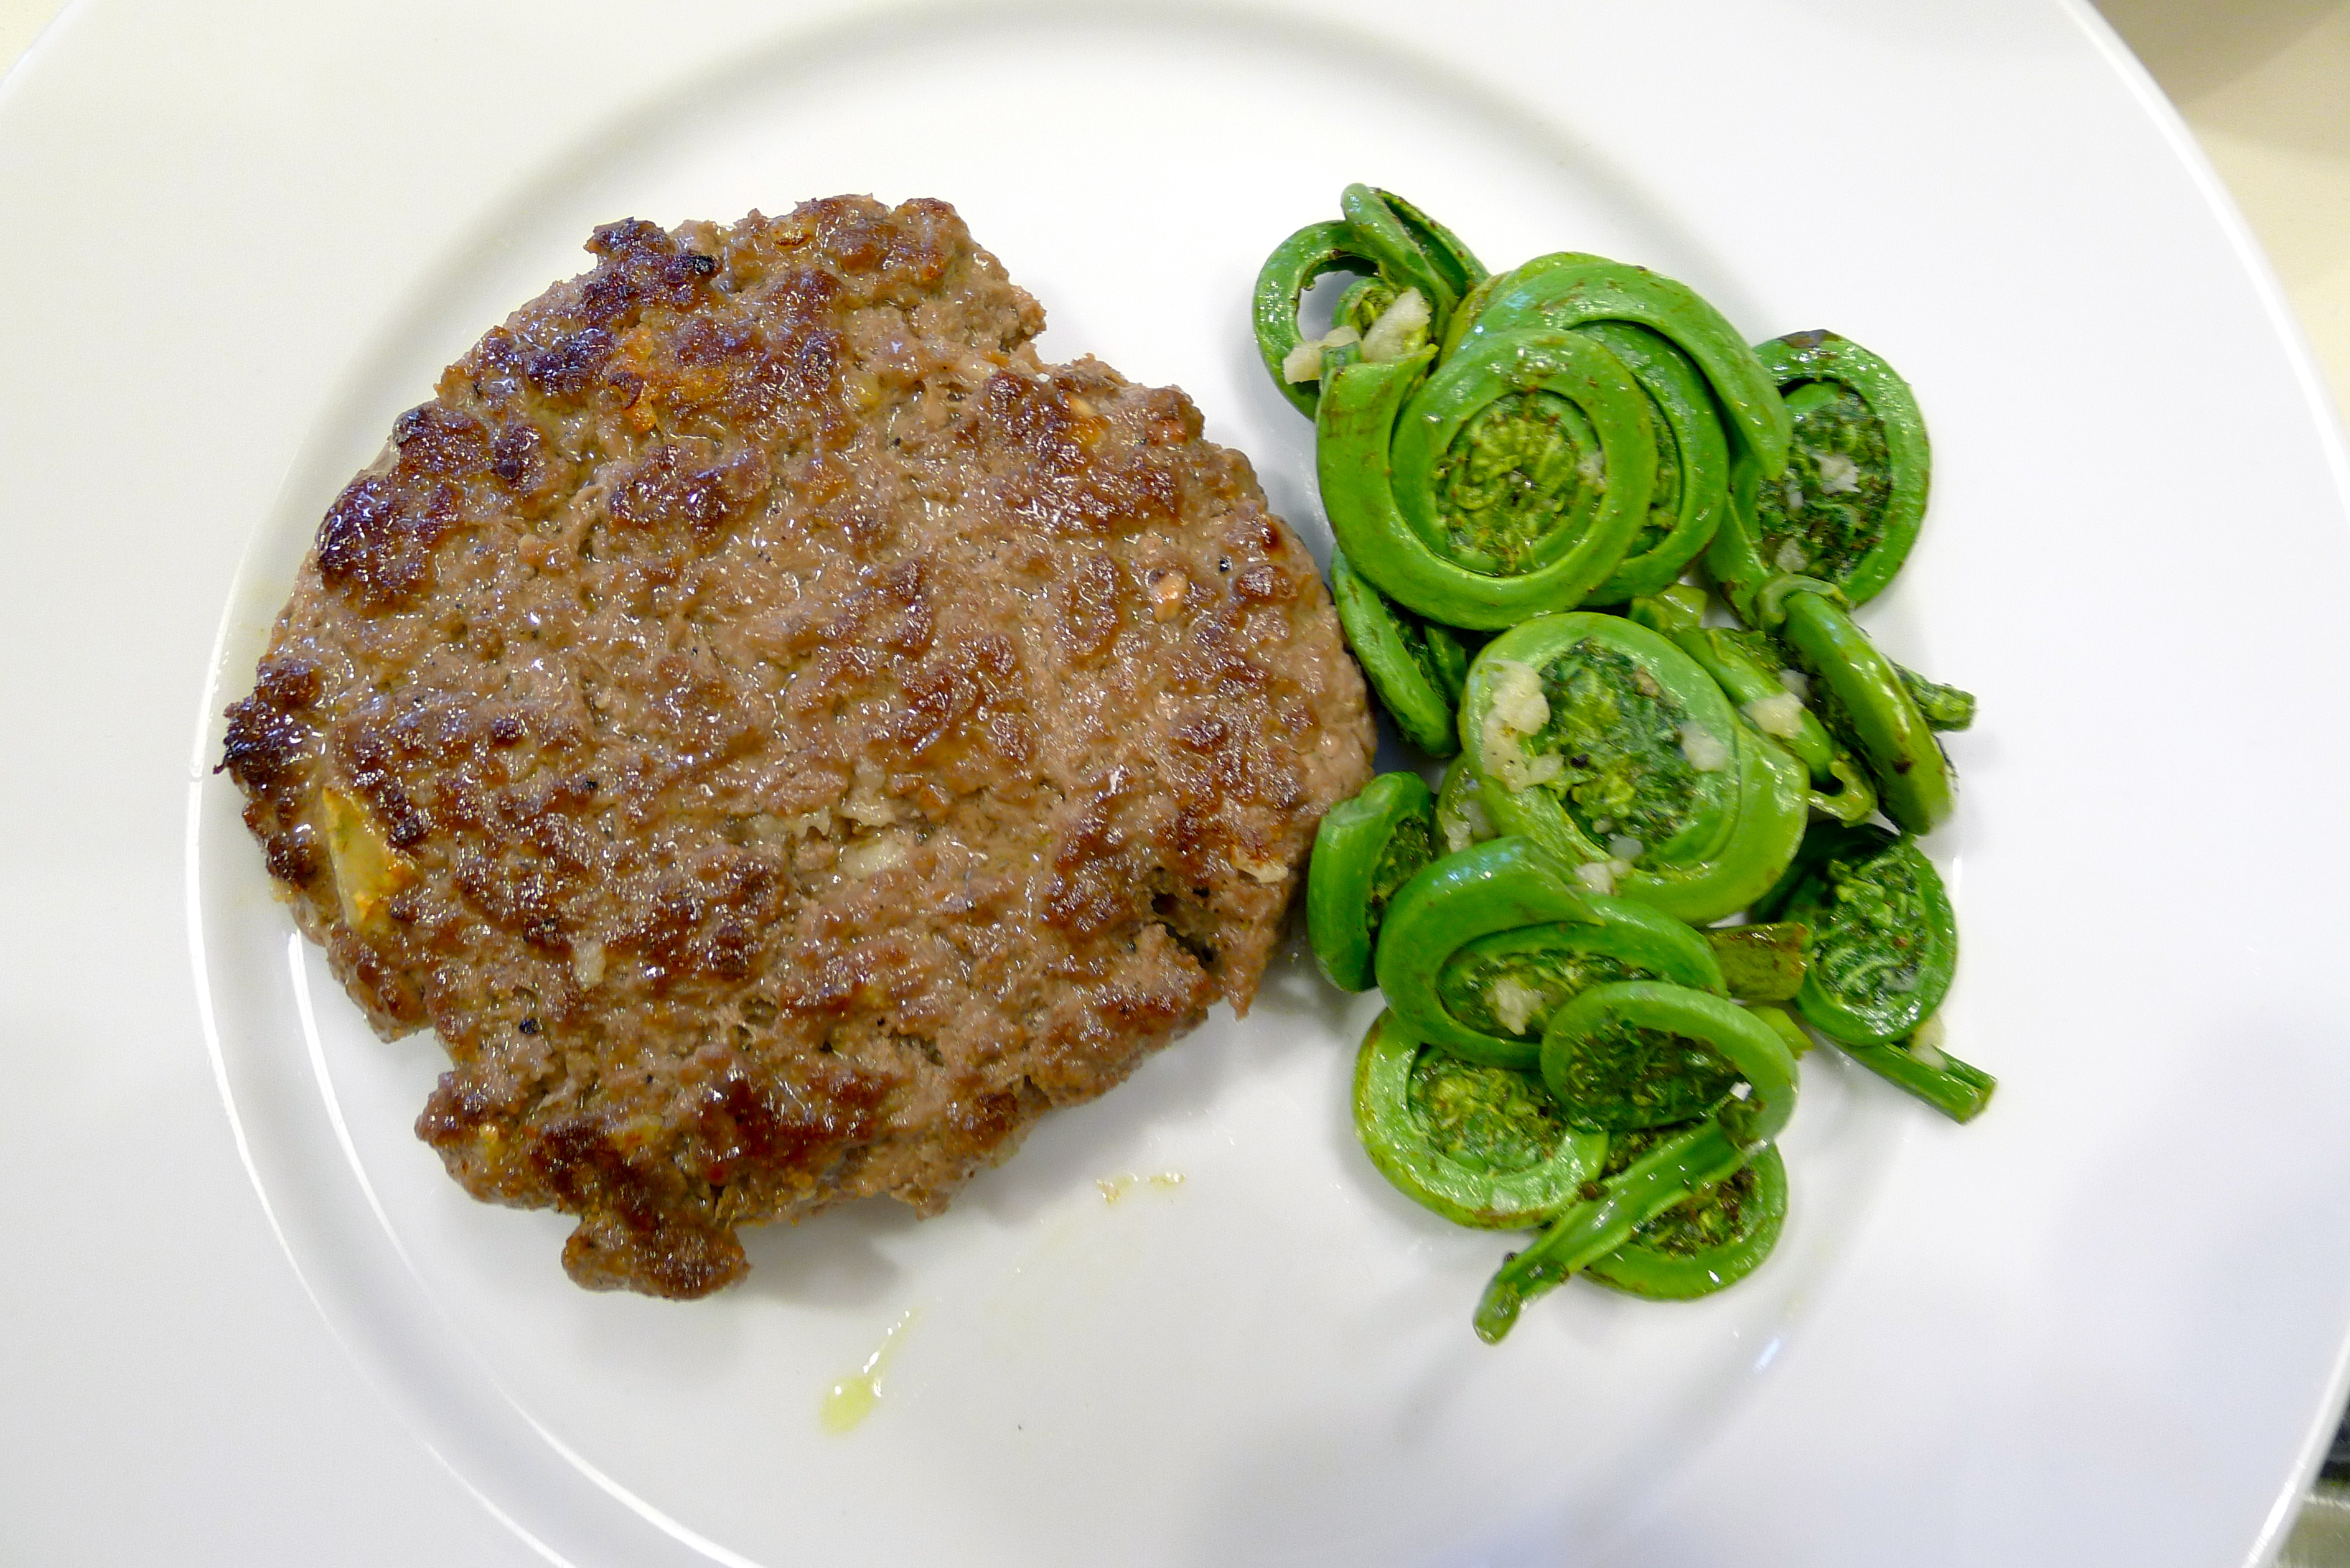
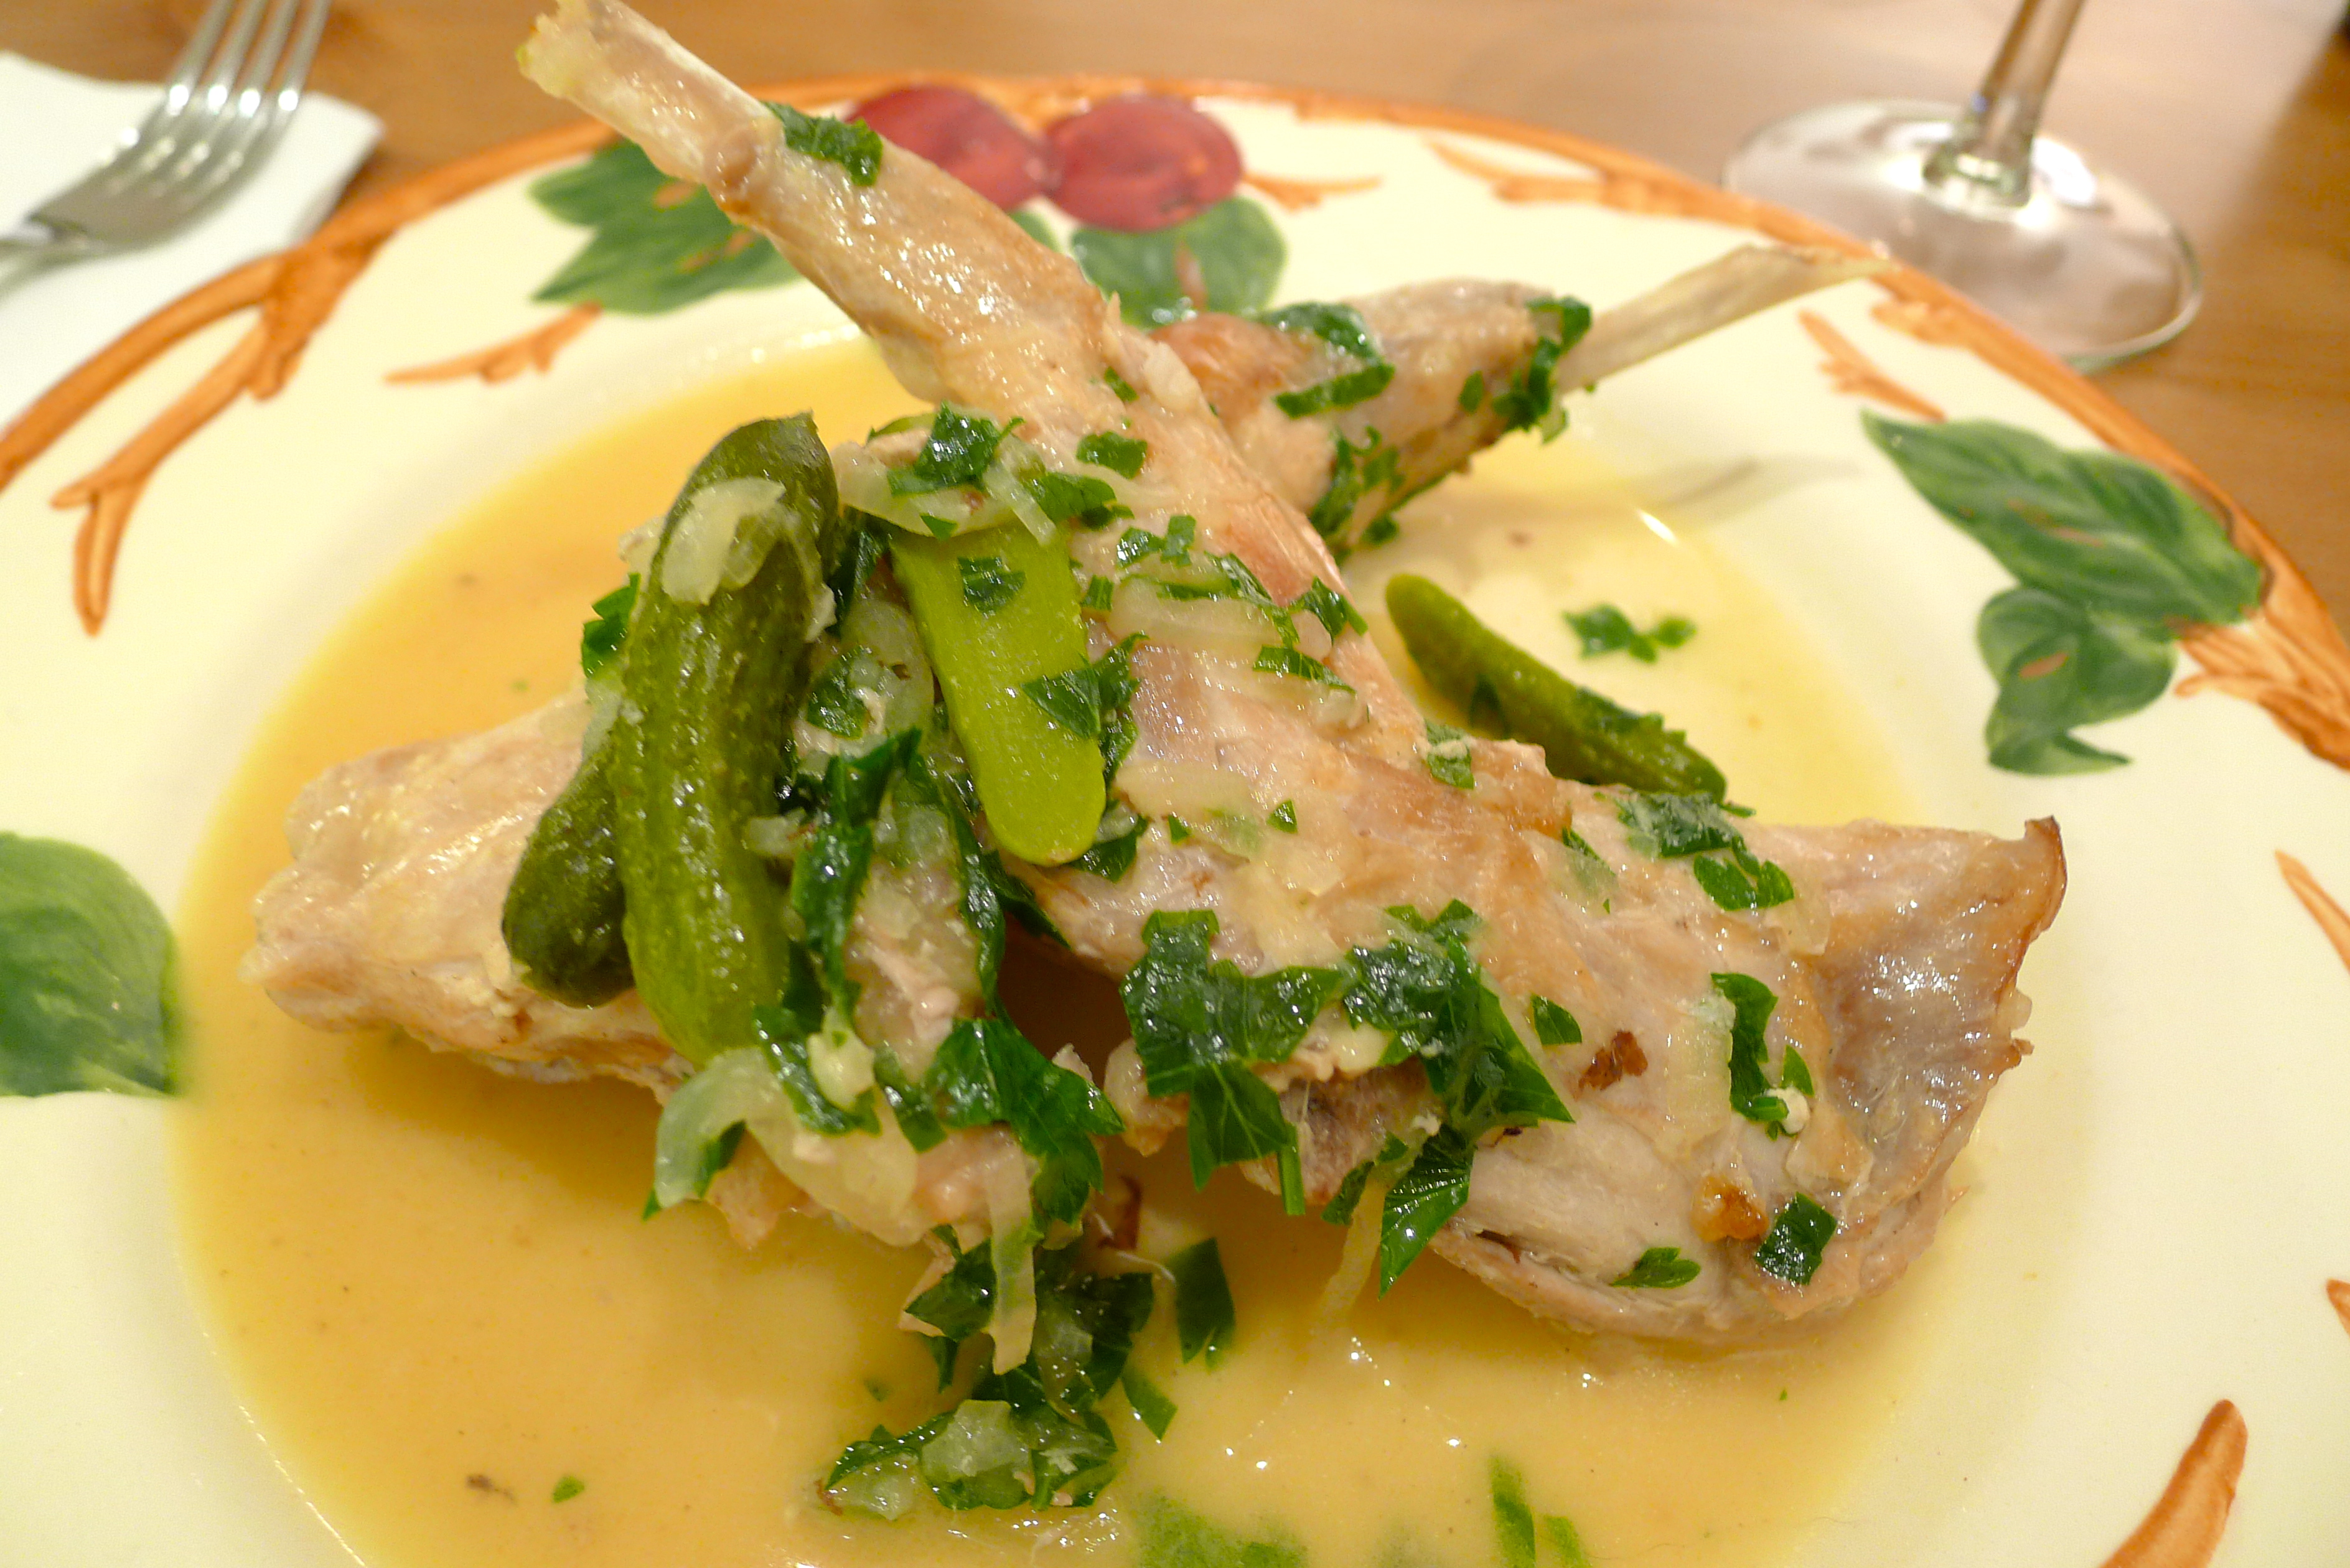
The meat is from our CSA absolutely amazing. All the beef is grass-finished, which means that the cows are fattened by grass — hay and baleage in the winter — not grain. The flavor is deep, rich and incredible.

I actually can’t have steak in restaurants now because it just doesn’t taste like meat!

I had always wanted to do a CSA. However, the only kind of CSA that I ever knew of before hearing about High Point Farms was either a vegetable or a fruit CSA. As someone who hates to waste food, I feared having to throw out more food than I could prepare or eat at any given moment — which is precisely what made a meat CSA so appealing.

Our farmer gives us our meat frozen. It is vacuum-packed in super thick plastic so that it keeps in the freezer really well. For anyone who claims that fresh meat is superior to frozen, I would say that this is really spoken from a place of ignorance as so much of the “fresh” meat sold in markets (even high-end butcher chops) was frozen — it just got defrosted by the shop or the butcher instead of by you!

You can go on the farm’s facebook page and see what a happy and wonderful life the animals have. If you are going to eat meat, wouldn’t you want the animals to be raised with love and care, and humanely slaughtered with deep respect and appreciation? To the argument that eating animals is “unhealthy,” I have to say that what is really unhealthy is eating pesticide-covered vegetables imported from Chile or some other South American country with horribly lax labor and safety practices — not to mention the carbon-footprint!

Some other vegetable CSA’s in the City offer meat through partnerships with other farms. However, I have to say that though I found High Point Farms almost by accident two years ago, getting involved with them has been one of the best and most rewarding things that I have ever done in New York City.

As I live close to the pick-up site in Manhattan, I am able to help the farm out on the distribution end by helping to coordinate the CSA’s bi-monthly pick-ups. Thanks to Tina and Bob MacCheyne, the farmer-owners of High Point Farms, I have learned so much. Not only have I discovered new cuts of meat and how to cook them, I have learned so much about being a better eater, consumer, and food advocate.

High Point Farms will be starting its next CSA season next week. There are still membership spaces available. The farm will be moving to a new model for this time around called a Buyers Choice.

This is how it works: there are different share options, beginning with a Trial Membership at $225 and going up to a Gourmet Share for $1000. That money goes directly to the farm, and is also your credit at the farm store for the season. Every two weeks, you go to the online store and load up your shopping cart with what you want: steaks, osso buco, oxtails, ground beef, roasts, chickens, eggs, cheese, pork chops, sausages, bacon. You can order as much or as little as you want. You can even skip that pick-up and wait for the next one. If you run out of credit, you can add more to your account. You come, you pick up your meat, you go home and cook it. And then you shiver with delight because it tastes soooo good.

And look, you just supported local agriculture and not evil giant agro-business.

The Deets:

• Our CSA season will run from March to December. You do not have to pick up something every pick-up., only on the days when you have ordered meat for pick-up.

In New York City, we have three pick-up locations this season:

East Village: Jimmy’s 43 (on East 7th Street, between 2nd and 3rd Avenues)
Williamsburg: Crossfit Virtuosity (221 North 8th St, between Driggs and Roebling)
Brooklyn Heights: Sweet Pea CSA (you must be a member of Sweet Pea Vegetable CSA to join this group)

• For the season’s delivery dates, click here.

• Membership Share Prices:

Trial Share: $225.00 (buys $225.00 of Farm Store Credit)

Single Share: $350.00 (buys $350.00 of Farm Store Credit)

Medium Share: $500.00 (buys $515.00 of Farm Store Credit + priority on limited items)

Large Share: $700 (buys $735.00 of Farm Store Credit + priority on limited items)

Gourmet Share: $1000.00 (b $1050.00 of Farm Store Credit + first priority on limited items)

There is a $25.00 Membership fee at sign up. ne time charge per CSA Season to offset the farm’s administrative and shipping costs.

For more information and to sign up, click here!

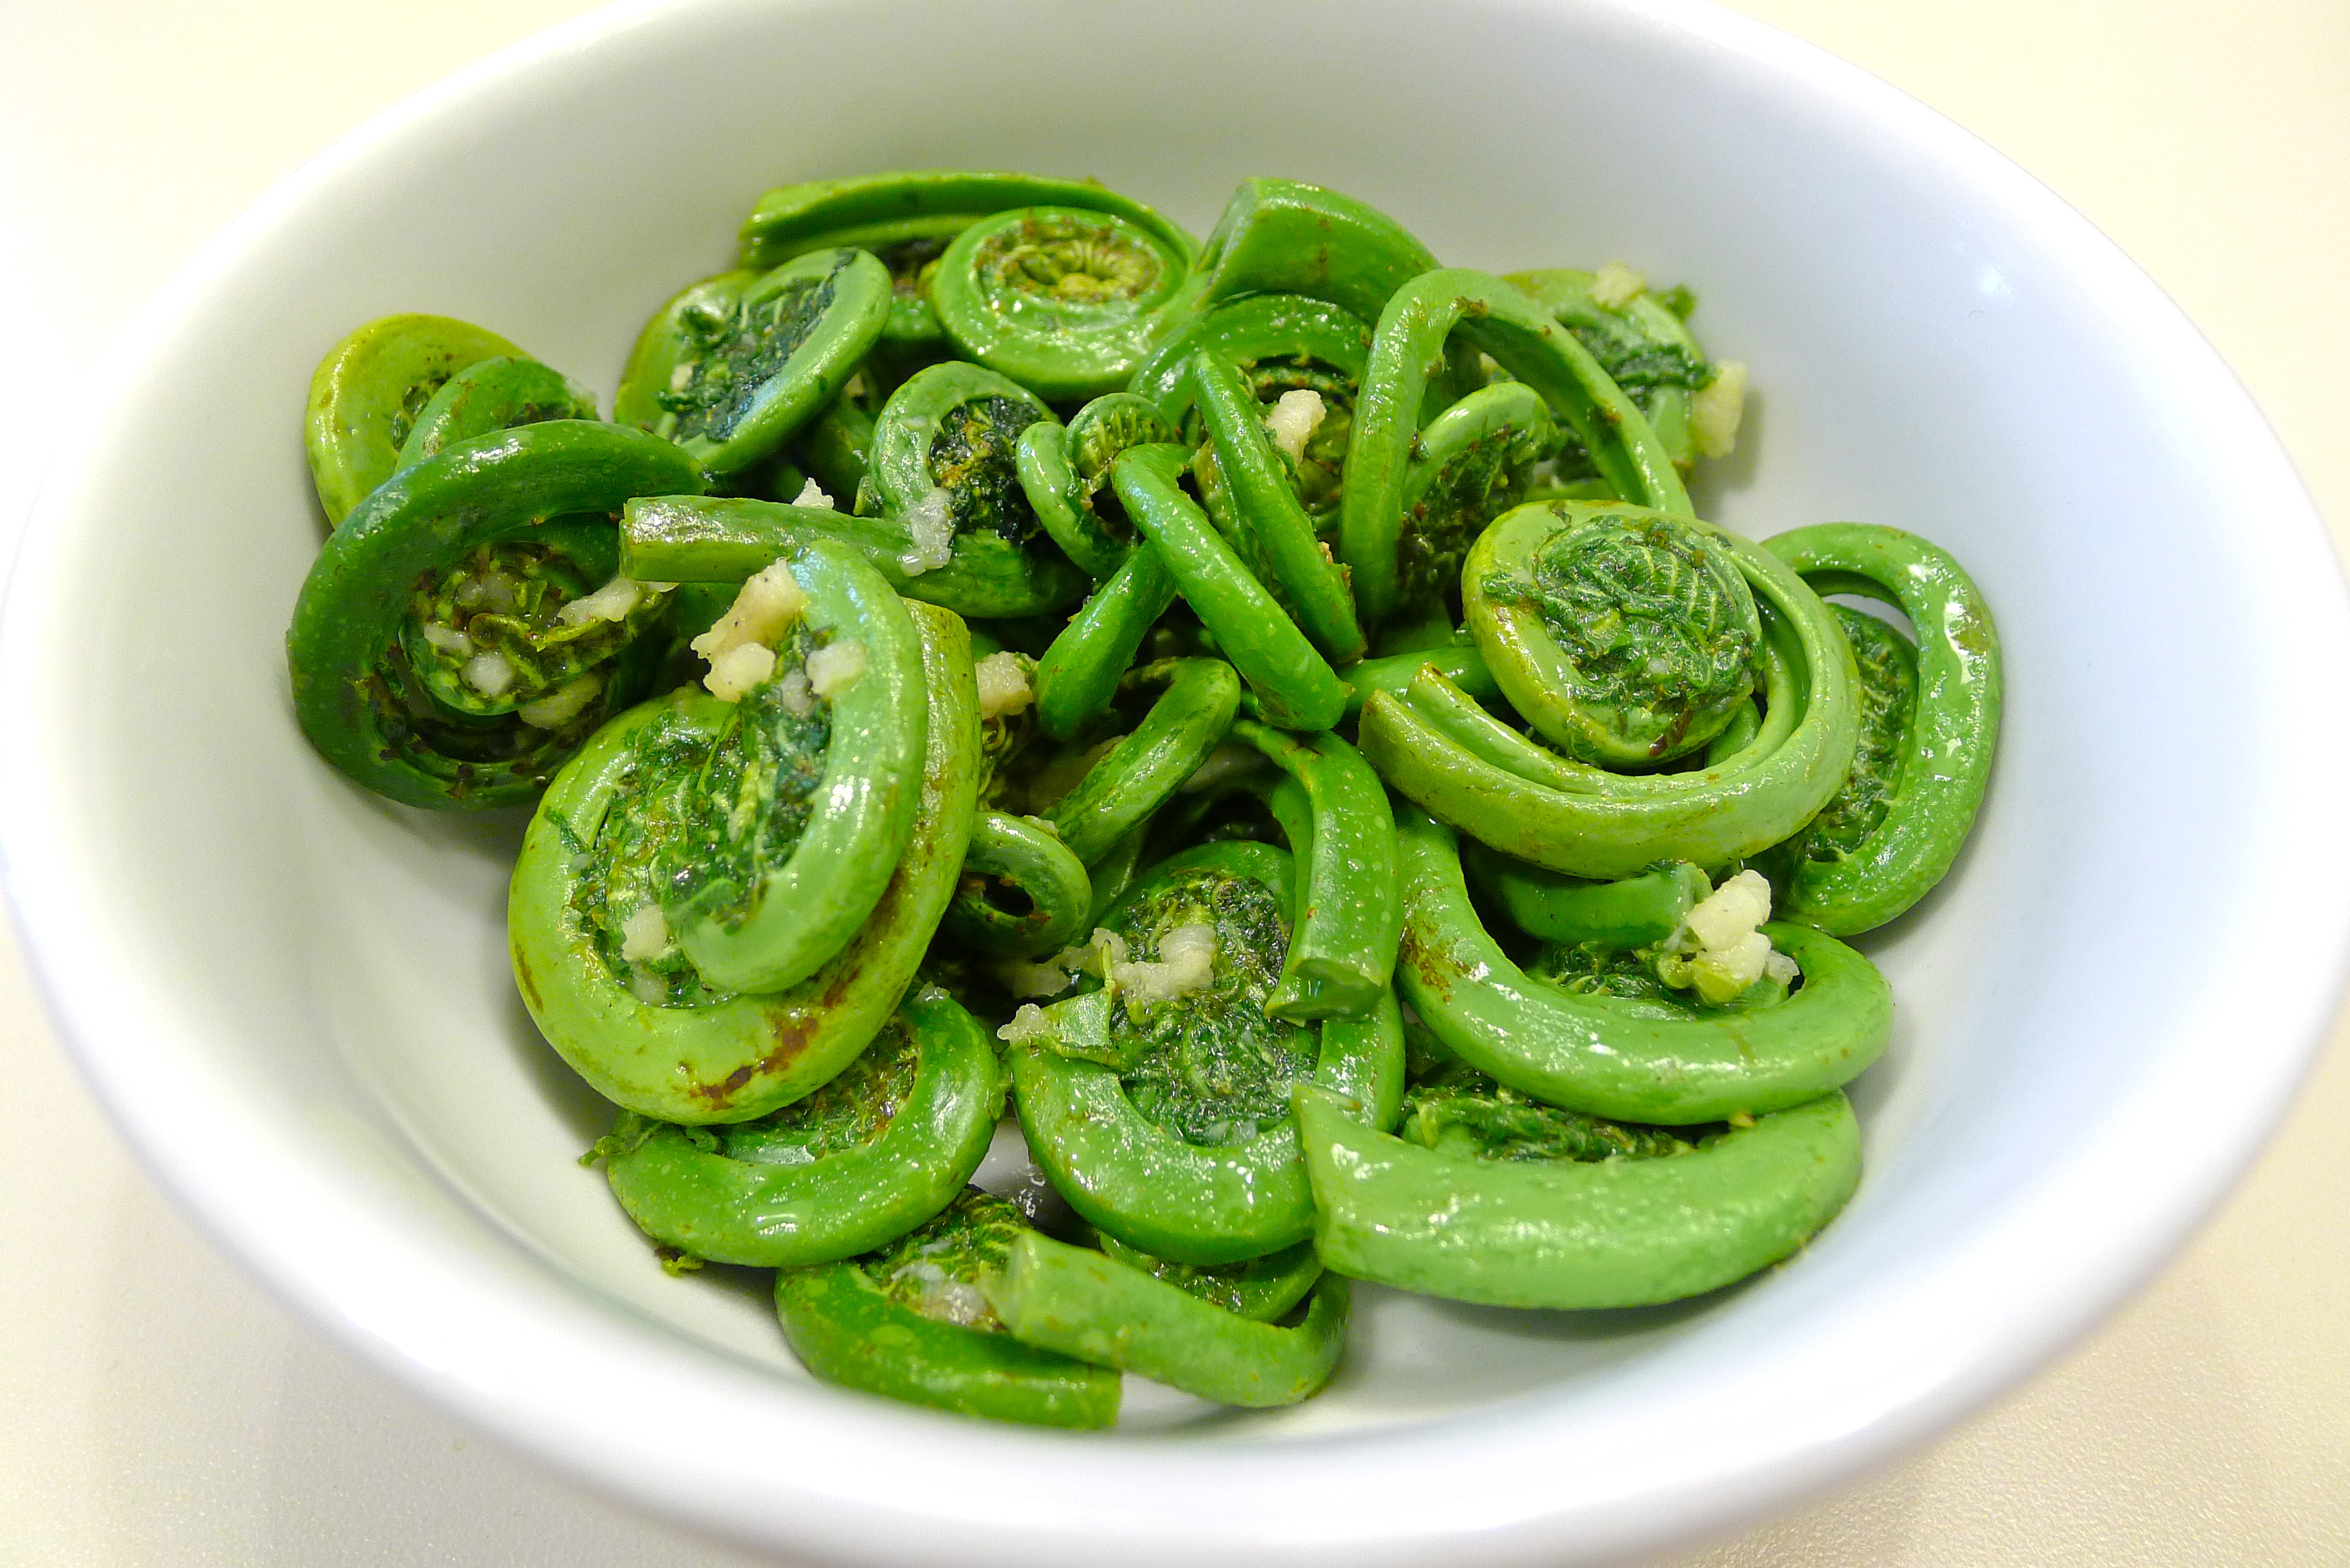
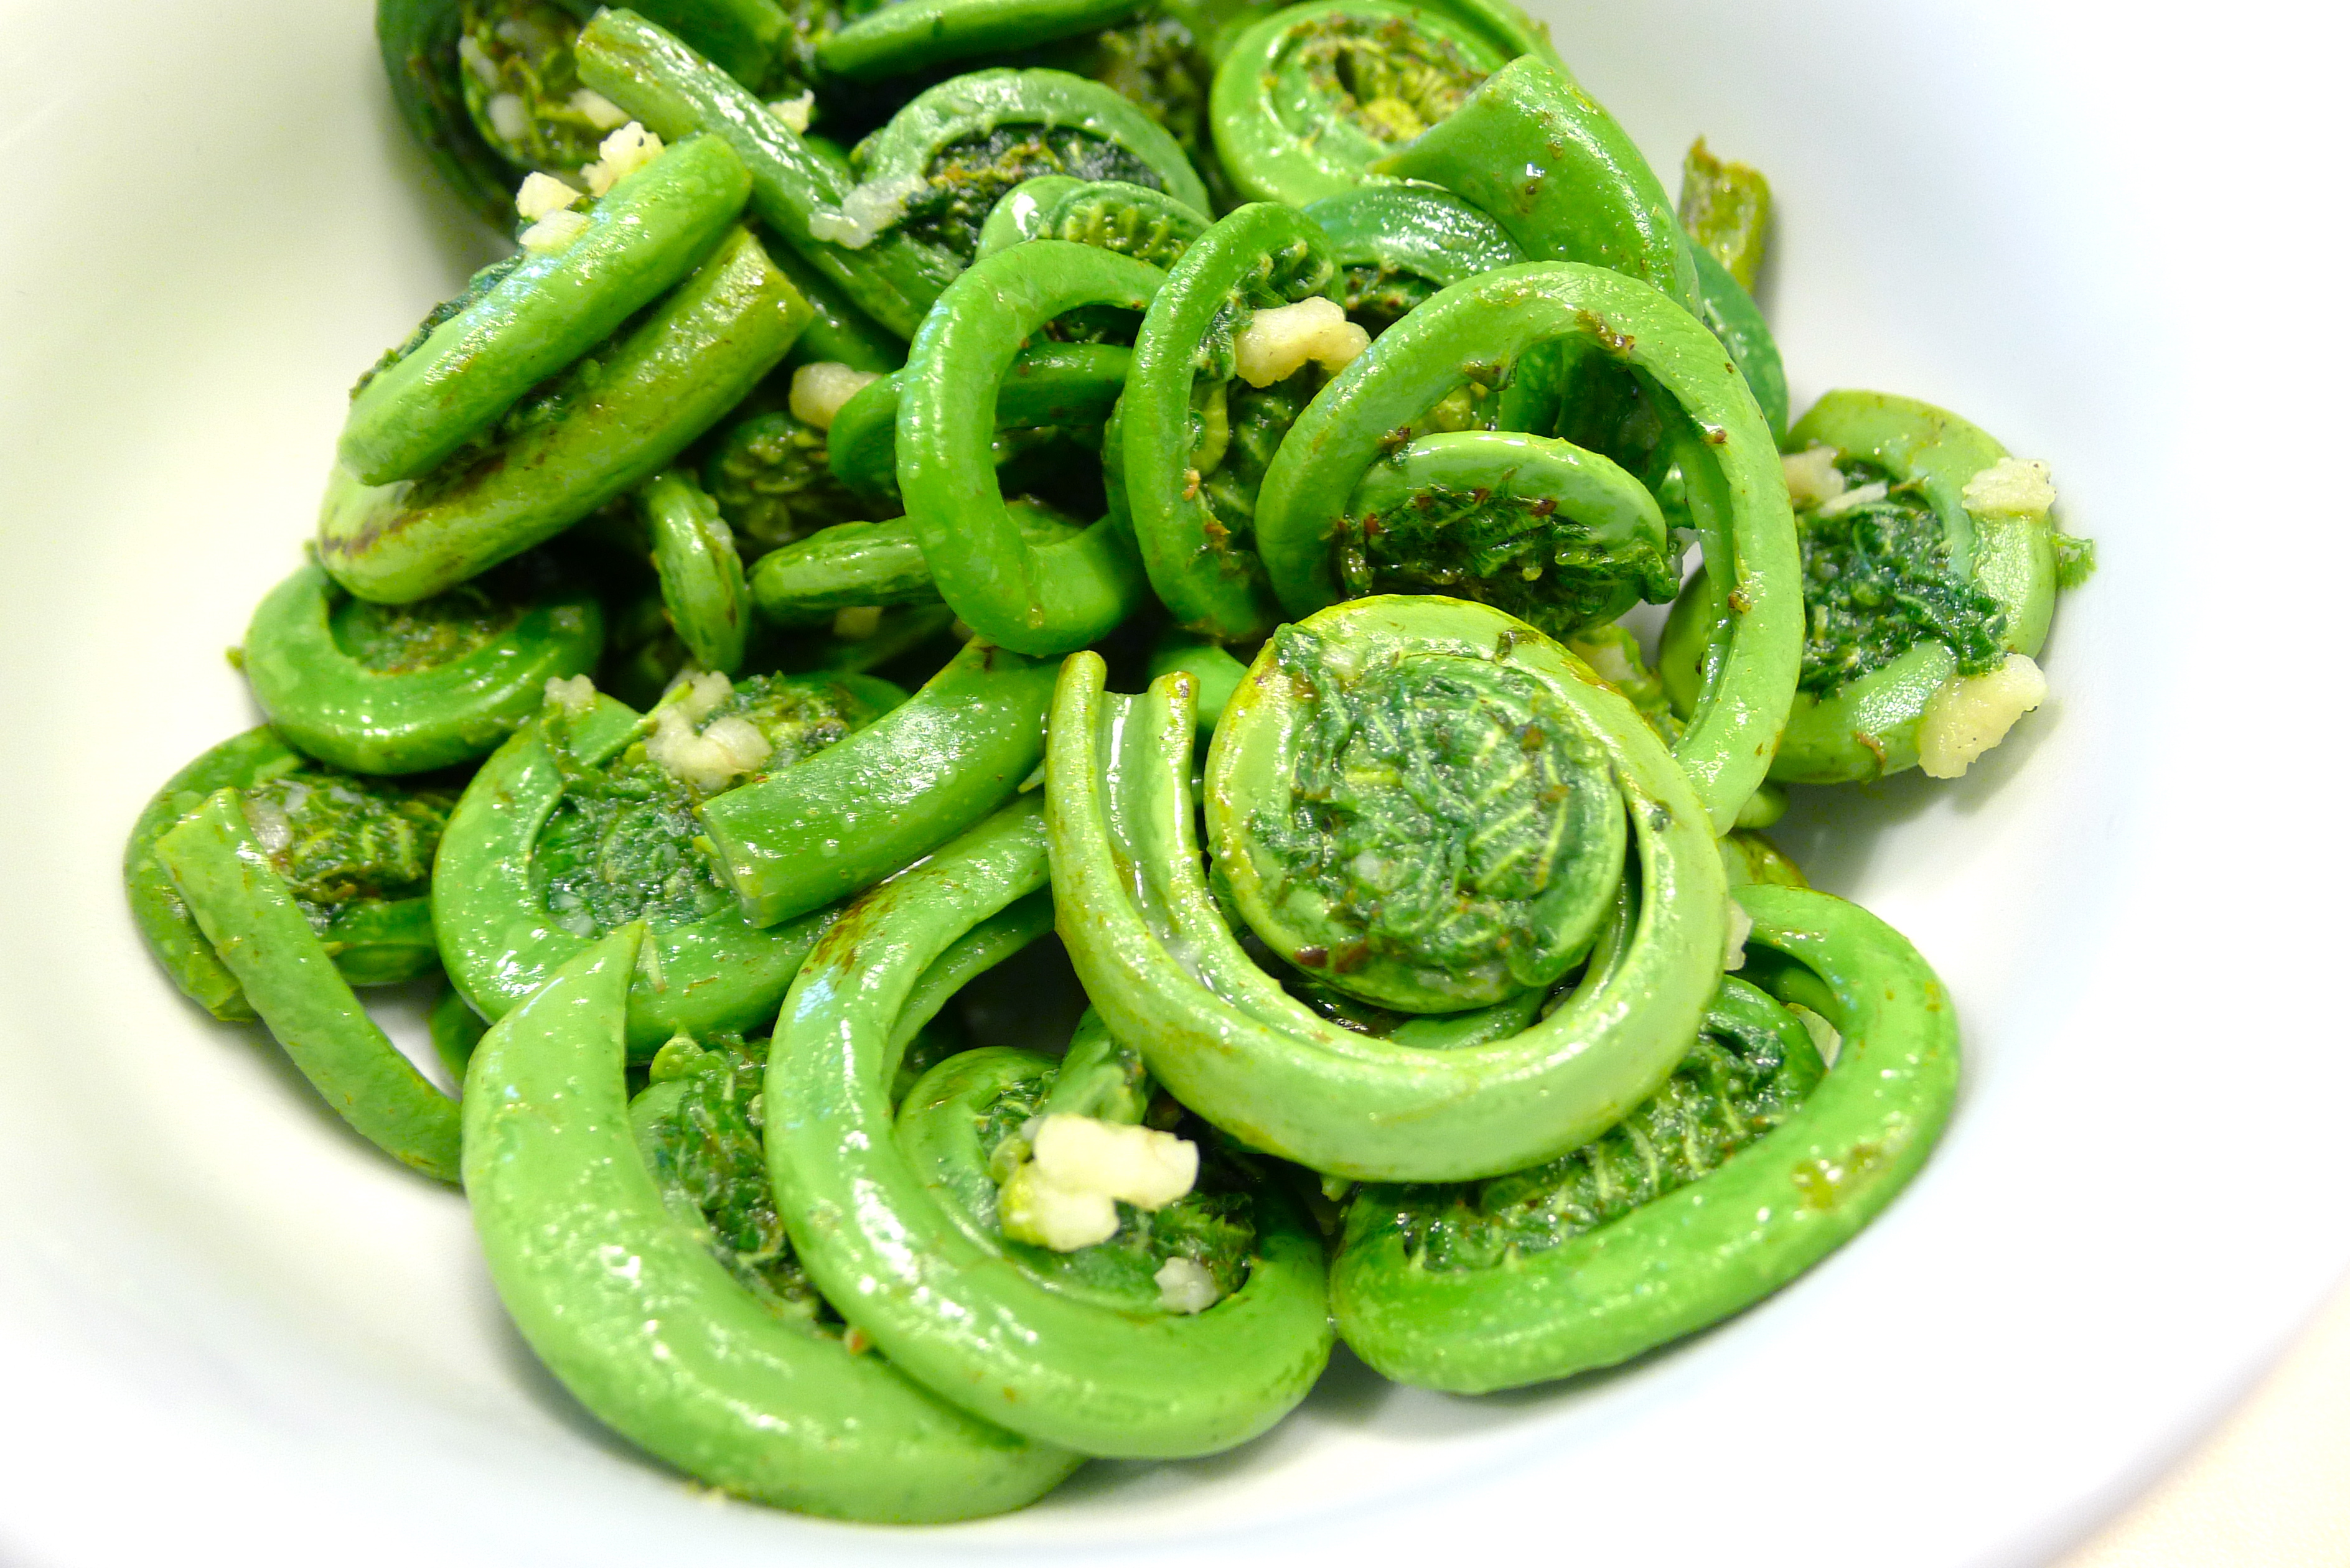
PS. See all that nice food pictured at the top of this blog post? You too can make all that awesomeness with High Point Farm’s meat!

Freshly Shucked Peas


This crazy spring/summer has been a little bit of a wrench in what has been coming to market lately. A shortened period of sweet, delicate spring vegetables, and an early arrival of things like squash. In any case, freshly shucked peas are wonderful — despite President Obama’s recent diss!

Sliced Filet Mignon with Fava Beans and Radishes


This is another recipe is from Epicurious. It is terrific for spring. I’ve modified the recipe a little bit, but kept the primary components.

I like to do steak in a pan the Tom Colicchio-way, basting the meat in butter as it cooks. Factor in about one steak per person.

I prefer my radishes crunchy, so I wouldn’t recommend letting them sit in the dressing for as long as the original recipe states.

I love fava beans. Get them fresh while you can (now is the season). They are extremely labor intensive to shuck and peel, but it is worth it. Here is a handy video clip to show you how if you have never cooked with fava beans before. Just ignore the cooking times that the cook in the clip recommends.

I never really measure out my oil or vinegar for the vinaigrette . . . If pressed, I would suggest that 3:1 ratio of oil to vinegar.

Ingredients:

About a 1/4 cup of extra-virgin olive oil

A splash of apple cider vinegar

Dijon mustard to taste (I use about a teaspoon and a half)

About 1/3 cup of fresh fava beans (from about 6-7 pods)

2 radishes, thinly sliced

2 filet mignon steaks, about 5-7 ounces each

Canola oil

Butter

Salt and pepper

About a tablespoon of chopped chives

Crumbled, soft goat cheese, or chèvre

How to prepare:

1. In a medium bowl, whisk together the vinegar, oil, and mustard until they form an emulsion. Adjust the seasoning to your taste.

If using fresh favas, you will first need to shuck the beans from the pods. Discard the empty pods, and blanch the beans in boiling water for about 2 minutes — any longer than that, and they will be mushy. Have an ice bath ready to shock the beans. By submerging the beans in ice water after draining them, you will retain their beautiful green color. When the beans are cool, you will need to remove the waxy outer-covering of each one. If you nick the end of a bean with your finger nail, you can easily squeeze the bean out of its peel.

Toss the fava beans and the radishes in the vinaigrette. You want them evenly-coated with the dressing.

2. Pat the steaks dry with paper towels, and season them liberally with kosher salt and pepper. In a heavy pan, heat the canola oil over high heat until it is almost smoking. You’ll be able to see when the oil is up to temperature when its surface begins to shimmer. Sear the meat on both sides, about 2 minutes per side. Reduce the heat to medium-low. You must reduce the heat to prevent the butter from burning on contact with the pan. Add a good knob of butter to the pan. Tilt the pan and, using a spoon, baste the steaks continually with the melted butter and oil mixture, flipping them halfway through cooking. Continue to cook the steaks until you have achieved your desired level of doneness.

Transfer the steaks to a cutting board. Let them rest a few minutes before slicing them.
Bear in mind that the steaks will continue to cook a little bit while resting, so you may want to keep this in mind and remove them from the pan when they are a little bit rarer than how you want to eat them.

3. Toss the fava beans and the radishes with the chives. Divide the fava bean and radish mixture between two plates. Top each portion with one of the sliced filet mignons. Drizzle some of the vinaigrette, and sprinkle on some of the crumbled chèvre over each steak. Serve immediately.

Simple Green Salad


This is not really a recipe, but an special welcome extended to season’s first lettuces.

It is also a gift from Tomoko, who appears to be drowning in seasonal produce at the moment. She asked if I might be interested in taking some off her hands, a precious bag of tender leaves plucked just that morning. Wouldn’t my interest be a given? Lettuces are best eaten immediately right after harvesting, but I’ll gladly take them harvested the morning of!

The leaves were sugar sweet, with fluffy folds and crunchy ribs. Delicious on their own, right out of the bag (I didn’t mind the few grains of dirt clinging to them), they were even better properly washed, hand-torn, and drizzled with a broken vinaigrette — just some lovely olive oil, and a few drops of apple cider vinegar stirred gently together so that they didn’t emulsify into regular vinaigrette. Flaky Maldon salt. Fresh black pepper.

It’s shaping up to be a great season.

Sautéed Fiddlehead Ferns with Garlic and Lemon


I have a food confession to make: I have been so busy that I haven’t been to the Greenmarket at all this season. Blame it on work, blame it on the incessant rain, blame it on the suffocating heat and humidity, but the real blame goes to me.

I have been a very lazy eater of late.

But spring vegetables are an excellent reason to get off of my duff. Since I missed ramp season (argh!), I wasn’t going to let the fiddlehead fern pass me by.

Fiddlehead ferns are the unfurled leaves of a young fern. They are harvested around this time, before they unroll and spread out as a new frond.

You blink and you miss the season.

So this is time-sensitive post, people!

I love them simply cooked: blanched, sautéed in olive oil and butter with garlic, and spritzed with lemon before serving.

Be sure to clean the ferns well before blanching. Swish them around in a big bowl of water, trimming the ends a little if they need it. After boiling them briefly in salted water, plunge them into an ice cold bath to stop the cooking and preserve their wonderful color. As the fiddleheads drain, heat a little bit of olive oil with a small knob of butter in a sauté pan with some finely minced garlic. When the garlic begins to sizzle, add the ferns. Shower them with sea salt, and sauté them until they start to brown slightly. A quick squeeze of lemon over the top before serving. They are fabulous.

Oven-Roasted Asparagus


If I had to say what my absolute favorite way to cook vegetables was, it would be roasting.

I’ve roasted just about everything: beets, cauliflower, broccoli, mushrooms, parsnips, eggplant, zucchini, peppers, carrots, broccoli rabe, tomatoes.

There is something about roasting that concentrates flavors, makes everything taste better. Roasting turns eh-okay tomatoes into something great. Vegetables emerge from the oven with a little char, and a lot of attitude — the good kind.

Now that it is springtime, asparagus spears have been big at the market.

And I love roasted asparagus the most.

To roast any vegetable, I set my oven between 400° to 425°. I wash my vegetables well, cutting them up into relatively equal pieces so that they roast evenly. How big should the pieces be? The fabulous Judith Jones had the best suggestion for this: cut your vegetables into the size you want to eat.

She might have stolen that from Julia.

For asparagus, you will need to trim the woody, inedible bottom ends from the rest of the stalks. How do you this? Hold the base of the stalk firmly and bend. The stalk should snap right at the point between the tough end and the tender one. To visualize this, here is a handy video clip. Discard the ends.

Evenly spread the vegetables out on a parchment paper-lined baking sheet. Drizzle good olive oil over them. Sprinkle them liberally with with flaky salt (I like Maldon salt), and add a few turns of the pepper mill. With your hands, toss the vegetables together to make sure that they are all coated with the oil and the seasoning. Spread them back out in an even layer on the sheet.

The roasting time varies depending on what you are roasting, and how big your vegetable pieces are. Asparagus cooks fairly quickly, no longer than 10 minutes. You want to remove the stalks from the oven when they are slightly blistered and charred — that goes for all vegetables, except for eggplants, tomatoes, and mushrooms (you want those a little more roasted). I would say experiment. Check on your vegetables after every 7 or 8 minutes. You will figure out eventually what times work best for you.

After your vegetables are roasted, transfer them to another dish. The great thing about roasted vegetables is that you can even serve them at room temperature, which is great because you can roast them ahead of time and not worry about them while you are finishing cooking the rest of your meal.

Sometimes, I like to grate some Parmesan on top before serving, or add a spritz of lemon juice.

Gabrielle Hamilton’s Braised Rabbit


Rabbit is a tricky thing to cook. Braising is the usual method — something that always always puzzles me as rabbit is very lean, and there really isn’t any tough connective tissue to break down by slow, low cooking.

Shorts ribs, it is definitely not.

I also have this sad tendency to slightly overcook my rabbit, leaving the meat a little on the tough side. It’s as if the bunny was tensing up in order to leap out of the pot to give me the finger.

But when I tried Gabrielle Hamilton’s recipe for braised rabbit published in the New York Time a few weeks ago, the dish turned out like a dream.

I didn’t actually have the 8 hind legs called for in the recipe, just one rabbit that I had butchered myself into 6 pieces. If you have never broken down a whole rabbit before, here is a good step-by-step tutorial from Saveur. If I were to do it again, I might butcher two rabbits — leaving me with a nice mess of fore and hind legs — and save the loins and saddles for another dish calling for rolling and stuffing.

Ingredients:

1 rabbit (about 2 1/2 pounds), cut into 6 pieces

Salt and pepper

2 tablespoons of vegetable oil

4 large shallots, thinly sliced

1/3 of a cup of cornichons, halved

1/4 of a cup or cornichon brine

3 tablespoons of white wine vinegar

3-4 cups of chicken stock

4 tablespoons of butter, cut into cubes

1/3 of a cup of Italian parsley, chopped

1. Preheat the oven to 350°.

2. Season the rabbit pieces liberally with salt and pepper. In a large, heavy Dutch oven, heat the two tablespoons of vegetable oil over medium-high heat until it starts to shimmer. Sear the rabbit pieces on both sides. Transfer the browned pieces to a plate.

3. Lower the heat to medium. In the same pan, sauté the shallots until they are tender but not browned. Add the cornichons, brine, and vinegar. Bring everything up to a simmer. Return the rabbit pieces and any accumulated juices to the pan, spreading the rabbit out as evenly as you can over the bottom. Add just enough chicken stock so that the rabbit pieces are covered by about 1/2 inch of liquid. Bring the liquid to a boil and then turn off the heat.

4. Cover the pan and bake until the rabbit is tender, about 45 minutes. The next time I do this, I might use a meat thermometer. Rabbit should be done at 135° – 140°. The recipe says that if you can easily bend the leg at the joint, your bunny is done.

5. Remove the pan from the oven and transfer the rabbit pieces to a plate. Keep the pieces warm while you finish the sauce. Return the pan to the stove top and boil the liquid until the sauce has been reduced by about half. Whisk in the cubes of butter one at a time. The sauce should be nice and glossy. Add the rabbit back to the pan to just reheat it. Before serving, stir in the parsley. 

Strawberries Dipped in Chocolate Caramel Sauce


Chocolate-covered strawberries get a bad rap. It’s perhaps not so surprising: the majority of ones in this country are sold in February, when strawberries are completely out-of-season.

Now I have nothing against partaking in enrobed fruit for Valentine’s Day, but strawberries bought in the middle of winter are usually shipped from South America, freakishly oversized, and stunningly tasteless despite their glossy red exteriors.

The chocolate sarcophagus they come in isn’t always very appetizing either.

But it is finally springtime — officially the start of strawberry season. Now is the time to see that chocolate-covered strawberries done right can be a sinfully sloppy mess.

How can you tell if a strawberry is ripe?

Smell it. Does it smell like a strawberry? No? Put it down. Walk away. Yes? Is it a full-on, luscious, musky strawberry-smell? Buy. Now. Buy buckets of them.

This sauce is fantastic. So easy and so versatile. Dredge fruit in it, or even better, drizzle warm gobs of it over vanilla-bean gelato. Or just eat it out of the pot. It’s fabulous.

Ingredients:

1 pint of ripe strawberries, washed and gently patted dry

1/4 cup of sugar

1/2 cup of heavy cream

2 ounces of semi-sweet chocolate (no more than 70% cacao), broken into smaller pieces

1/8 teaspoon of sea salt

How to prepare:

1. Cook the sugar in a small dry saucepan over moderately high heat, undisturbed, until it begins to melt, about 2 minutes. Continue to cook, tipping the pan from one side to the other, until the sugar has melted into a deep golden caramel, about 1 to 2 minutes. To help visualize this, here is a handy profanity-free video with Gordon Ramsay.

2. Remove the caramel from the heat and carefully pour in the cream. The cream will steam and bubble vigorously. Once the bubbles begin to subside, return pan to moderately low heat and cook, stirring or whisking constantly, until the caramel has dissolved. If the caramel does not seem to dissolve completely, add 1 to 2 teaspoons of water at a time, stirring, until it has dissolved.

3. Turn off the heat and continue to stir or whisk the caramel to cool it down a little bit. Add the chocolate and the salt. Stir or whisk the chocolate into the caramel. The sauce should be thick and glossy when you are finished.

4. Dip the strawberries in the sauce and arrange them on a plate. Serve them to someone you want to make happy.

Milk and Honey Roasted Spare Ribs (St. Louis-Cut)


Over the years, I have come across a fair number of recipes for pork cooked in milk.

Pork? Yes. In milk? Yes.

Very un-kosher.

I’m not exactly sure of where the technique finds its origins. Italy probably. The esteemed Elizabeth David cites the Veneto in particular, but I’ve also heard Bologna. Naples even.

In any case, if you don’t mind flouting several dietary laws at once, this is a pretty awesome way to ring in Spring and celebrate Biblical bounty in a truly transgressive way.

Yes, Friends, we are cooking cloven-hooved creatures in milk and honey!

A few weeks ago I got an amazing rack of ribs in my CSA share. Serendipitously, the NYT published a series of recipes about roasting ribs in the oven. Meant to be? A secular sign?

Yes!

Though the ribs take a good 2 hours or so to cook, the milk acids make the meat meltingly tender. The milk proteins and sugars create the most delectable crust. It’s like meat lollipops dipped in dulce de leche.

It’s not gross, it’s Italian.

Ingredients:

1 rack of St. Louis-cut spare ribs, or two racks of baby back ribs

2 tablespoons of olive oil, plus 2 tablespoons

2 tablespoons of fresh rosemary, chopped

3 cloves of garlic, finely minced

Salt and pepper to your liking (I like about about a teaspoon of salt and a good couple grinds of pepper)

1 yellow onion, peeled and halved

2 bay leaves

2 tablespoons of red wine vinegar

2 tablespoons of honey

2 cups of whole milk

1 cup of heavy cream

How to prepare:

1. If you haven’t done so yet, remove the membrane from the back of the rack of ribs. Flip the ribs bone-side up. Using the flat handle of a spoon or a butter knife, loosen the membrane from one end of the rack of ribs. Grasp the loosened end with a paper towel and pull the membrane slowly in the direction of the opposite end. It will probably come off in one piece but if not, you can just grab the torn end and continue. To help visualize, here is a pretty great Youtube how-to clip from BBQTalk.

2. In a small bowl, mix together the oil, rosemary, 2 tablespoons of olive oil, salt and pepper with your fingers. Lay the ribs out on a large sheet of plastic wrap. Rub the mixture all over the ribs. Arrange the ribs on top of the onion halves. Lay the bay leaves on top, and sprinkle the ribs with the red wine vinegar. Wrap the ribs up tightly in plastic wrap and refrigerate them for between 6 to 12 hours.

3. Set the oven to 350°. Remove the ribs about 30 minutes to an hour before roasting.

4. Pour the remaining 2 tablespoons of olive oil into the bottom of a heavy-duty sheet pan. Heat the oil in the oven for about 5 minutes. Add the onion halves and the ribs — rounded side-up — in the pan and roast them for 30 minutes. Drizzle the ribs with the honey and roast them for about 10 minutes more. Then, turn the ribs over and pour the milk and cream over them. Roast the ribs for another hour.  After an hour, if you notice that the ribs are starting to brown too much, cover them with a sheet of parchment paper or aluminum foil. Continue to cook them for another 30 minutes to an hour more until they are tender enough for you to be able to pull the ribs apart with your fingers.

5. Remove the ribs from the oven and let them rest on a cutting board for about 5 to 10 minutes. Cut the ribs into sections and serve immediately.