Who doesn’t love elote, that roasted Mexican corn on the cob slathered with mayonnaise, chili powder, and cheese, spritzed with lime juice, and served on a stick? I’ve come to associate it with summertime, when sweet corn is in season and I have my pick of local food trucks to sit in front of, snacking away.
As much as I love it, I have to admit that the fastidious Virgo in me doesn’t always love how sloppy elote is to eat. I get annoyed with how the grated cheese smears all over my chin, how the corn inevitably sticks in my teeth, and how glops of mayo always end up on my dry clean-only shirts. It’s the kind of annoyance that makes me hang my head in foodie shame as I go back to the truck to ask politely for a steak knife to cut off the kernels so that I can eat them with spoon.
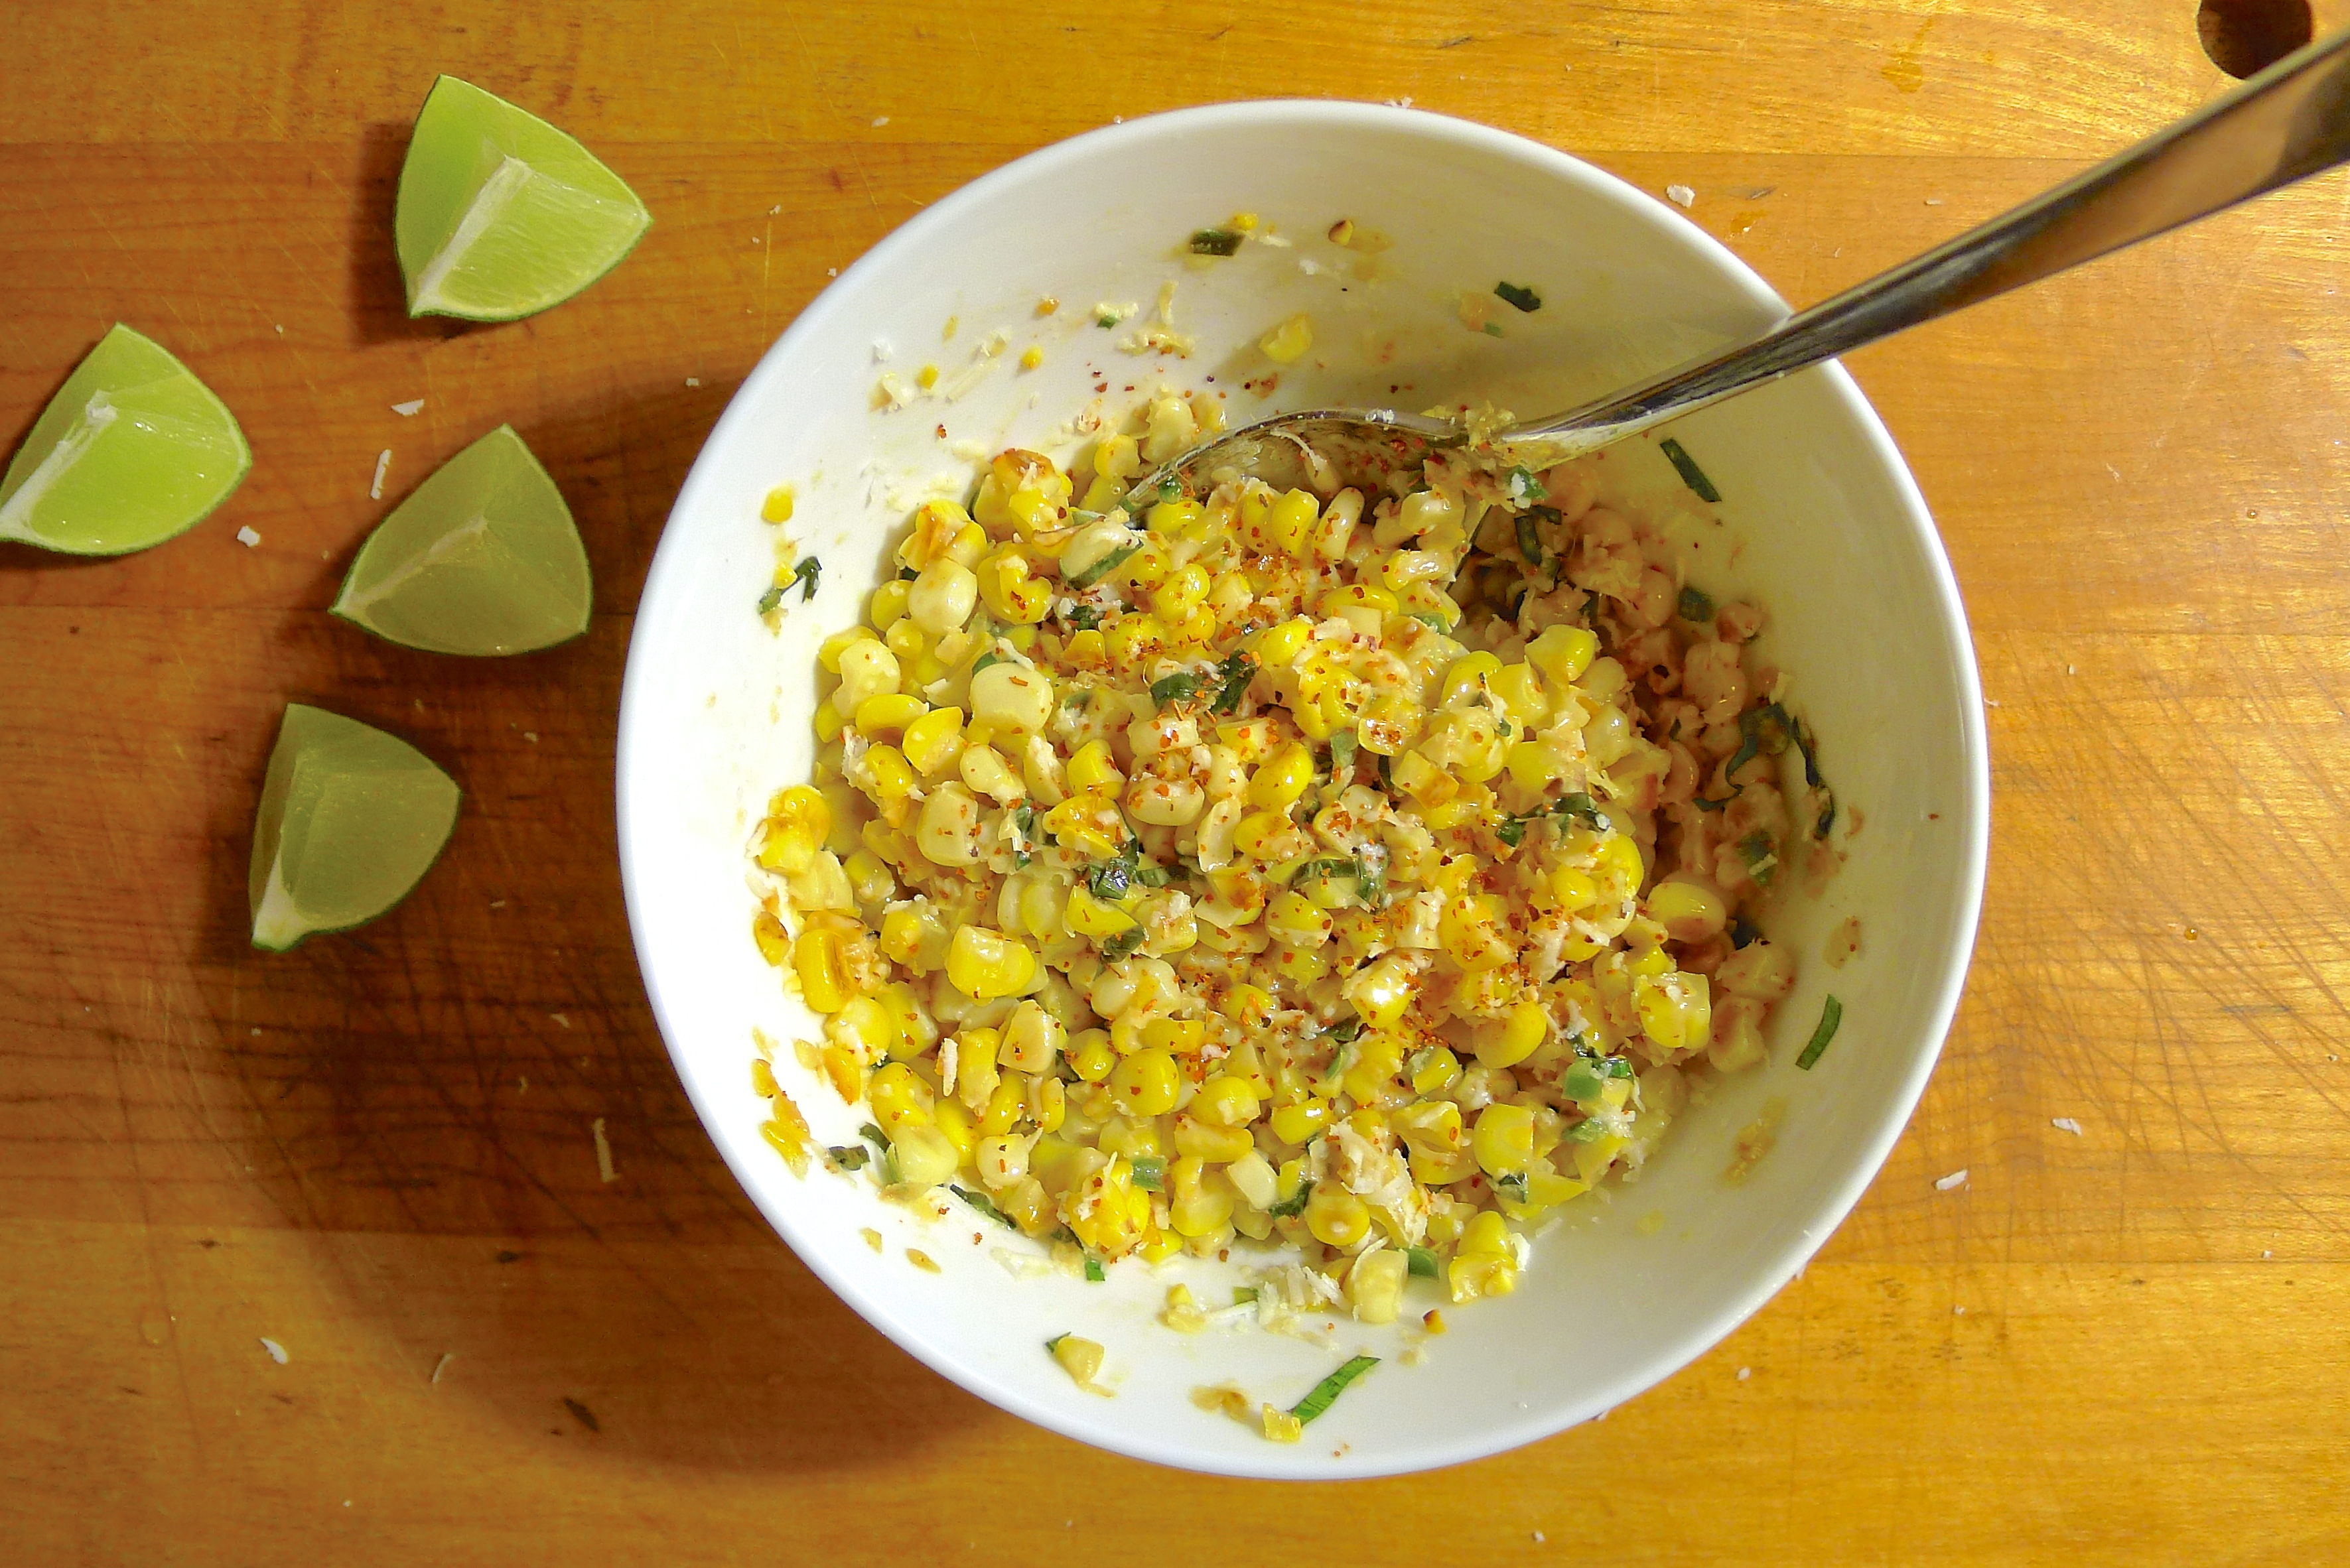
That is why I really love esquites, which are essentially elote in a cup (or, as I prefer, a large bowl or a trough). Here, the messy work is done ahead of time and all you have to do is eat it, calmly and neatly.
Both elote and esquites are essentially street food and like most street food, there isn’t really an official recipe per se. The general consensus seems to be that there must be corn, it can be boiled but it is better roasted, there should be some kind of fat like soft butter, crema Mexicana, or — even better — mayonnaise (I like my street food a little on the trashy side so it’s mayo for me). There should be some heat, some lime juice, and some salty, crumbly cheese like Cotija, but grated Parmesan or aged feta does the trick too.
Unlike elote, esquites often includes some chopped epazote, a traditional Mexican herb whose flavor is hard to describe. If pressed, I would say it kind of tastes like what would happen if cilantro and tarragon romped in a dusty field and had a herb baby. Epazote is worth seeking out; a little is all you need to add a wonderful earthy dimension to the corn. If you can’t find it, chopped cilantro is a good substitute.
Ingredients:
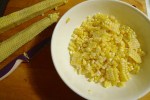
2 ears of corn
1 serrano chili pepper, seeded and finely chopped
Olive oil
Butter
Salt
1 tablespoon of mayonnaise, crema Mexicana, or sour cream
The juice of half a lime
Cayenne pepper to taste
1 tablespoon of epazote, finely chopped
1 tablespoon of grates Cotija, Parmesan, or crumbled feta
Tajín Clásico Mexican chili seasoning (or you can experiment with a combination of Ancho chili powder, more lime juice, and salt)
How to prepare:
1. Remove the corn kernels from the cob. To do this with minimal mess, stand each ear of corn in a large shallow dish and slice down the length of each ear with a sharp knife. Keep the knife as close to the cob as possible. Rotate the ear and continue to slice down each exposed side until all the kernels are removed.
2. Sauté the kernels and the chopped serrano chili in a large skillet or cast iron pan with about 1 tablespoon of butter and 1 tablespoon of olive oil.
3. Once the kernels have started to brown, transfer them to a bowl and add the mayonnaise, lime juice, and enough cayenne pepper to suit your taste. Stir in the epazote and the grated cheese. Adjust the seasoning, dust with Tajín, and serve.