I have inherited a lot from my mother. In addition to her dry sense of humor, her sarcasm, and her sly potty mouth, I am also the beneficiary of her glossy hair and poreless, flawless skin — which she reminds me, while comparing the four zits that I have had in my entire life to her NONE EVER, is actually less flawless than her own.
What I did not get from my mother was my taste for fiery, hot spice, gamy meat, and my willingness to put my overly-trusting ethnically Chinese-self in the hands of white people.
“Who is Fuchsia Dunlop?” my mother asked, “Is she Chinese?”
“Um, no. She’s British.”
“Like British-Chinese?”
“No . . . um, just British.”
Silence.
Asian-child fail!
But it’s really not my fault! My mother is an amazing cook, who has basically decided that she will be taking all her secrets to her grave so I will miss her more when she’s gone. In her kitchen, I am not even sous chef. I am relegated to the status of line-cook. Or bus-person.
Basically she lets me wrap things like egg rolls, dumplings, or leftovers with cling film.
These dumplings are not anything my mother would ever cook. First of all, they are spicy as heck! Secondly, the root of their spice comes from a nice, thick, orange slick of delicious grease! Finally, the recipe is from a white person.
But. They. Are. Delicious.
To the unintiated, Fuchsia Dunlop (who never seems to be known as just Fuchsia or just Dunlop) is a Chinese food phenomenon. Author of the best-selling Shark’s Fin and Sichuan Pepper: A Sweet-Sour Memoir of Eating in China, the book outlines her deep love for Chinese cookery which began as a student at Cambridge, culminated in a move to Chengdu and enrollment in a professional chef’s training course at the Sichuan Institute of Higher Cuisine — the first Westerner to ever do so.
Friends, both Asian and not, swear by her books and her recipes, both of which translate Sichuanese and Hunanese cuisine into something effortless, accessible, and authentic-feeling.
I adapted this recipe from one that appeared on Epicurious from Every Grain of Rice: Simple Chinese Home Cooking. I didn’t change parts of it because I had any kind of personal reference — apart from eating similar dumplings in restaurants, I don’t. Instead, I altered the recipe because I am apparently lazier than your average Chinese home cook 🙂
However, the results are still divine. Heritage schmeritage! These dumplings tick every single box in terms of a deeply soul-satisfying food experience. Did I mention that they are ridiculously easy to make too? 🙂
Ingredients:
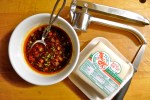
For the sauce
3-4 tablespoons of dark Chinese soy sauce
1 1/2 teaspoons of sugar
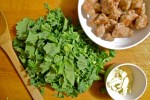
3 cloves of garlic, finely minced
3 scallions, finely chopped
3 tablespoons of sesame chili oil with sediment
For the dumplings
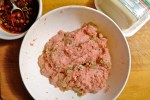
1 knob of fresh ginger
1 pound of ground pork
1 egg, beaten
2 teaspoons of Shaoxing wine (a useful buying guide can be found here)
1 teaspoon of toasted sesame oil
3 scallions, finely chopped
Freshly ground white pepper
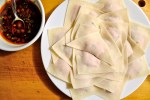
1 package of wonton wrappers
For garnish
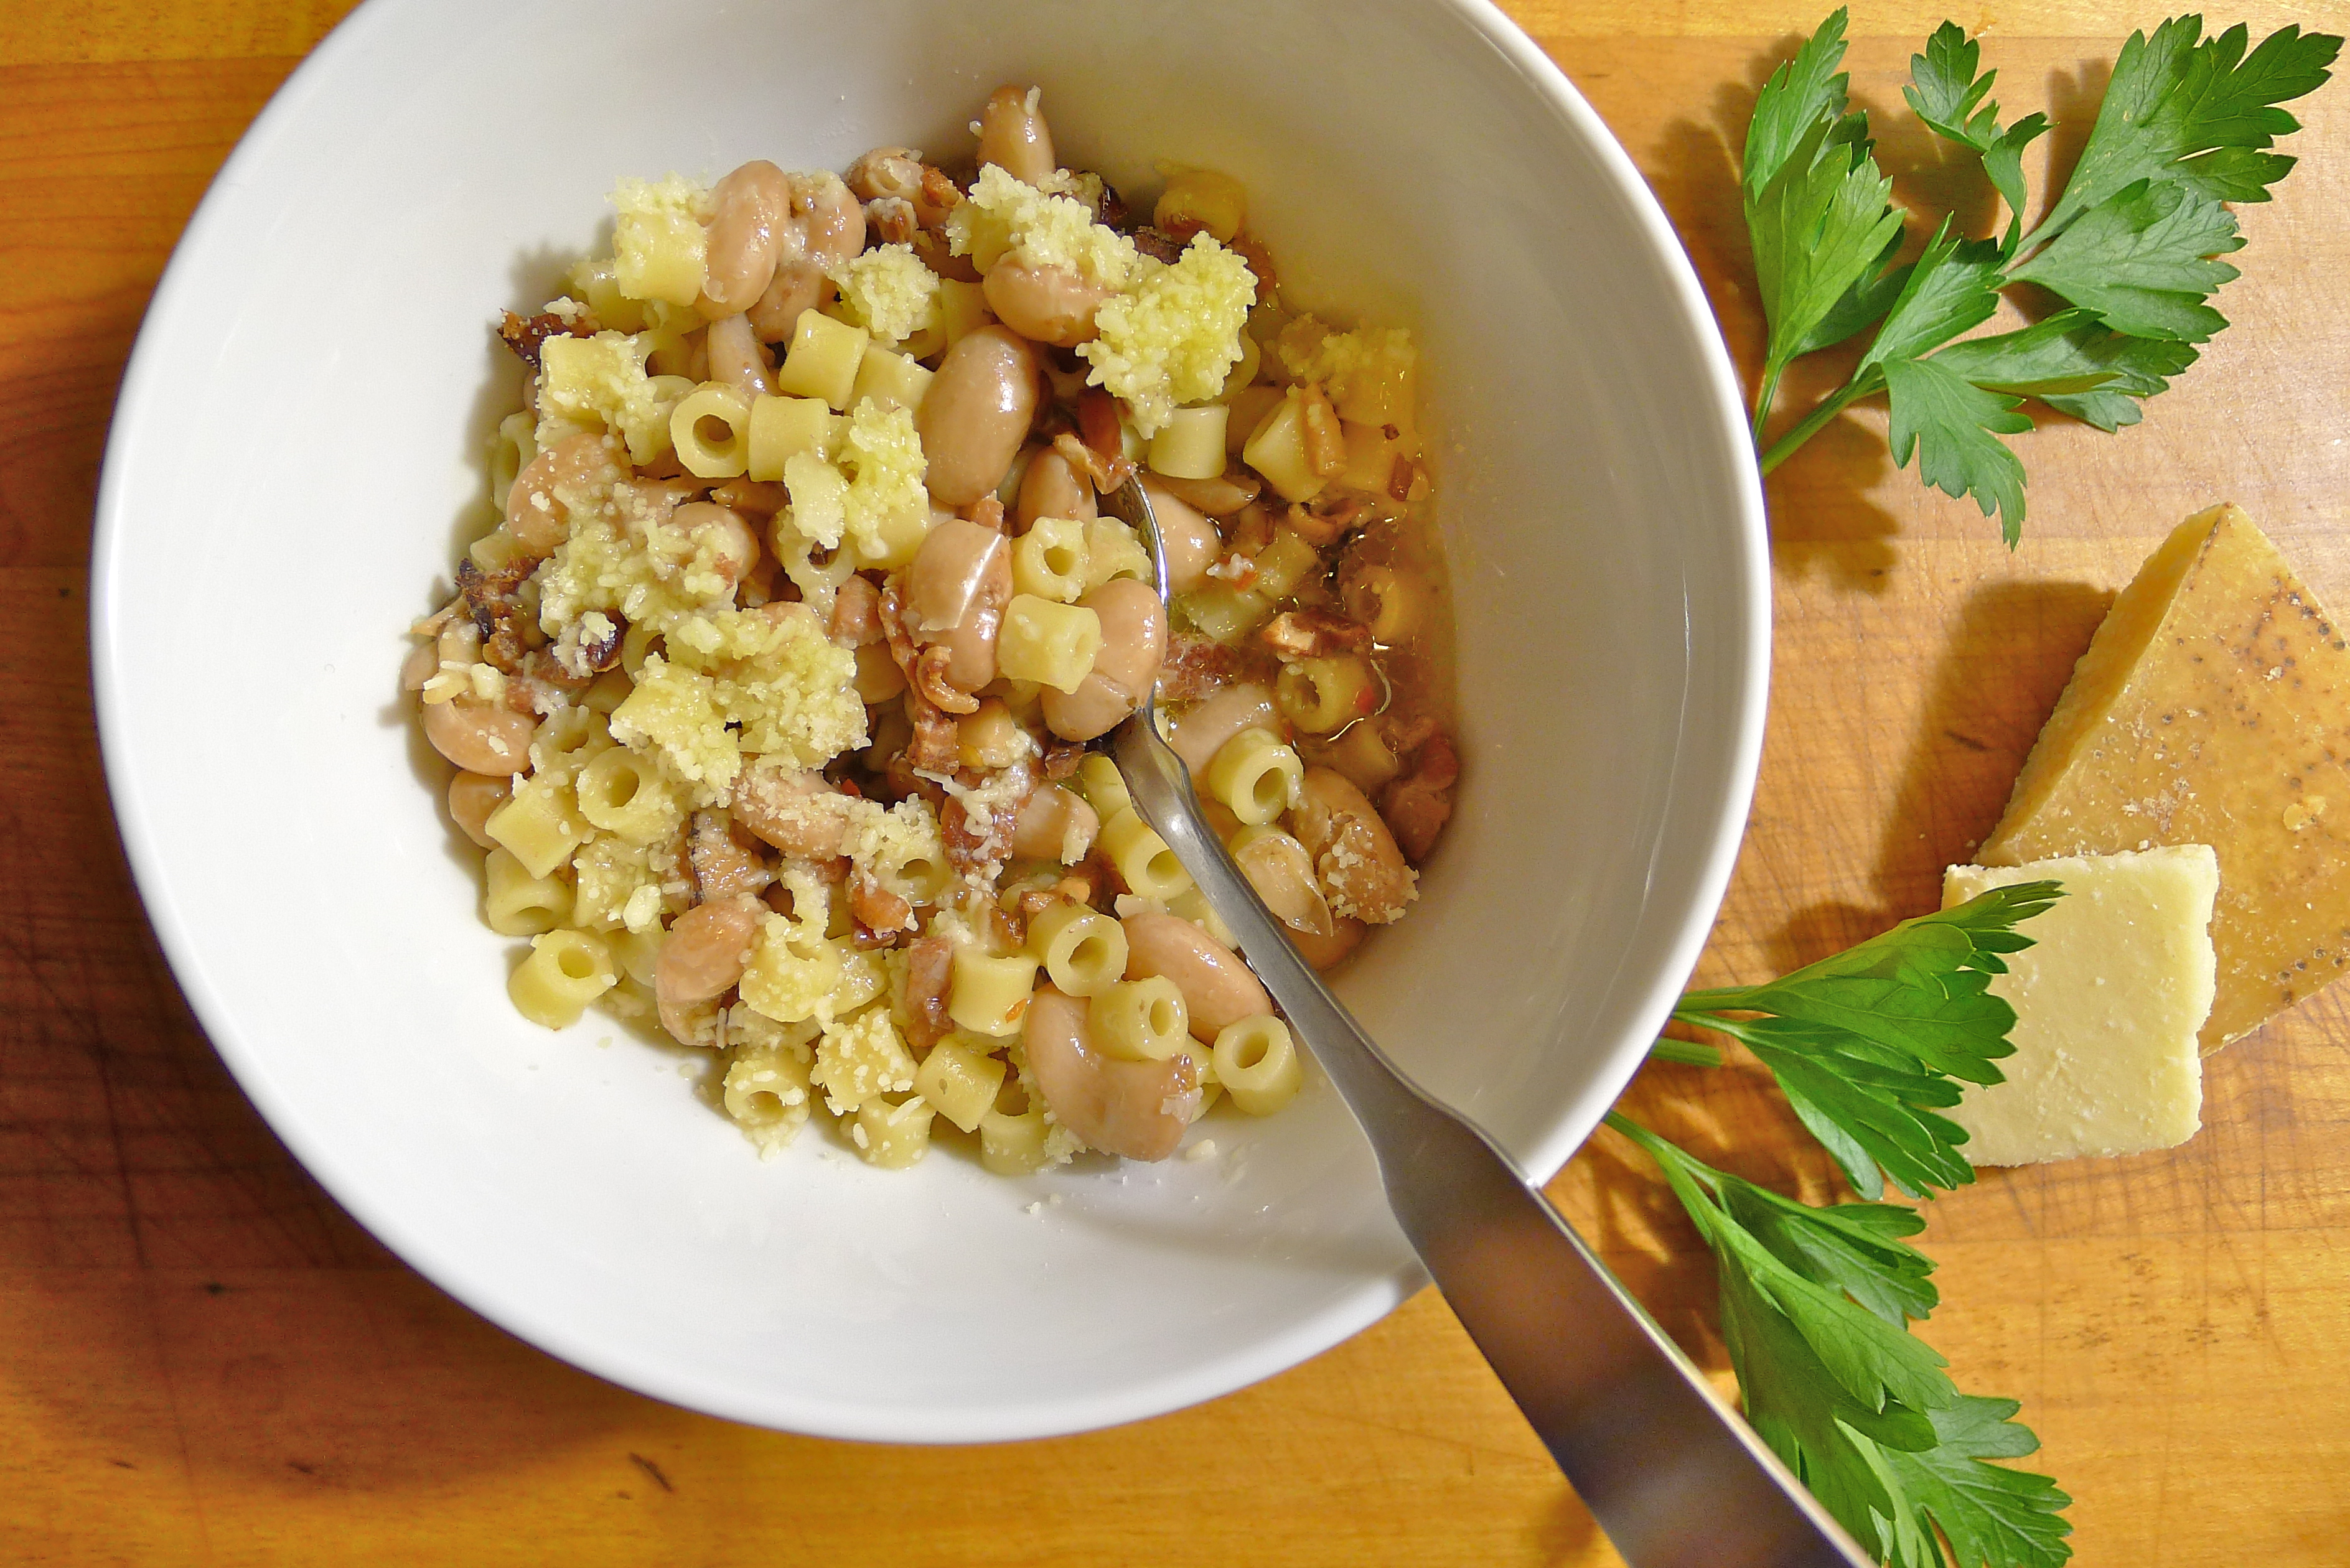
2 tablespoons of roasted peanuts, chopped (Fuchsia Dunlop’s recipe does not call for them, but I think they would be an terrific addition. I would have added if I had them on hand!)
How to prepare:
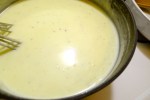
1. First, prepare the sauce. In a small bowl, whisk together the soy sauce and the sugar. Let the mixture sit for about 5 minutes until all the sugar crystals have dissolved. Once the sugar has dissolved, add the finely minced garlic, the chili oil with sediment, and the finely chopped scallions.
2. Using a rolling pin or the bottom of a heavy coffee mug, crush the knob of unpeeled ginger. Place it in a small dish and cover it with about 2 tablespoons of water.
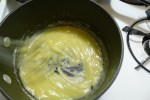
3. In a large bowl, combine the pork with one beaten egg, 2 teaspoons of Shaoxing wine, 1 teaspoon of roasted sesame oil, and 3 teaspoons of the ginger water. Mix well with your hands. Add the scallions and season the meat with white pepper to taste.
As the sauce is relatively salty, I opted to not salt the meat, but you can do so if you prefer.
4. Fill a small dish with cold water. Take one wonton wrapper and lay it on a flat surface. Place about a teaspoon of pork filling into the center of the wrapper. Dip a finger in the cold water and run it around the edges. Fold the wrapper in half diagonally and continue until all the pork filling is gone. You should use up about half of the package of wrappers, which you can save and freeze for another time. Lay the wontons out on a large cookie sheet to avoid crowding them onto a plate like I did.
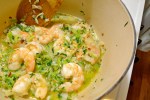
5. While you are wrapping, set a large pot of water to boil. When the water has reached a rolling boil, salt it as if you would for pasta (wontons are essentially ravioli after all). Carefully drop the wontons in one-at-a-time. I only cooked 8-10 at once to ensure that they wouldn’t stick together. When the water has come back up to a boil, add another cup of cold water to the pot. When the water has come up to a boil again, gently scoop up each wonton with a slotted spoon and drain each well. Divide the wontons among however many bowls you want and generously spoon over the chili-soy sauce.
Sprinkle with crushed peanuts, put on a bib, and dive in.