Fresh Apricot and Amaretto Sorbet

Tart and refreshing!
The first time that I ever had the combination of almonds and apricots was at a brunch in Paris. It was in the form of pitted fresh apricot halves stuffed with crushed amaretti biscuits, dotted with butter, sprinkled with sugar, broiled until tender, and finally drizzled with heavy cream. The dear friend who served them to me has gone on to open a wildly successful barbecue restaurant in London, leaving small indulgences such as those apricots behind.

However, I never forgot them.

I thought of them again as I contemplated what to do with a container full of apricots that I picked up at the store. I had initially intended to make something Moroccan with them, but then they got too squishy to eat and I earmarked them for sorbet. After waiting too long to do even that, they got downgraded (or upgraded, depending on how you see it) to jam. Finally, life interfered with the cooking once again and the poor things had to be tossed. So I got myself another container of apricots, resolving to not let them go to waste like I had the others (I hate throwing food out).

This recipe is adapted from David Lebovitz‘s Fresh Apricot Ice Cream recipe. Although fairly faithful versions of it can be easily found via any internet search, I would highly recommend purchasing his book The Perfect Scoop. It is a must for anyone wanting to tinker around more with homemade ice creams and sorbets.

The original recipe calls for almond extract, but as amaretto — that sweet, almond-flavored Italian liqueur — is often made from crushed apricot pits, it seems even more fitting to use it instead of the extract. The addition of heavy cream makes this sorbet feel rich and indulgent, yet it is still tart and refreshing to eat. I have also kept Susan‘s suggestion to use an invert sugar; I agree that it really does improve the texture and mouthfeel of homemade sorbet. For a better and more convincing argument than I could ever write, I refer you to Susan’s amazing blog post here.

Ingredients:

1-1.25 pounds of fresh, ripe apricots (approximately 10-15 of them)

1/2 cup of water

1/2 cup of sugar

1 1/2 tablespoons of glucose or another invert sugar such as golden syrup or honey

1 cup of heavy cream

2 tablespoons of amaretto

The juice of one lemon

How to prepare:

1. Split the apricots into halves and remove the pits. Cut each half into quarters.

2. In a medium saucepan, combine the apricot quarters with the water and the sugar. Cook over medium heat until the apricots just begin to soften. This should take between 6-8 minutes. Turn off the heat, stir in the glucose, and let everything cool to room temperature.

3. Once the apricots have cooled, purée them in a food processor. Press the purée through a fine-mesh sieve with a silicon or flexible plastic spatula. Discard the solids. Chill the strained purée overnight in the fridge.

4. Once the purée is properly chilled, add the heavy cream, the amaretto, and the lemon juice.

5. Churn the mixture in your ice cream maker according to the manufacturer’s instructions. When the mixture is smooth, return it to the freezer to harden.

The sorbet should keep for about two weeks in the freezer.

Backwoods Blueberry Buttermilk Sherbet

The final product!
Have you ever made a claim and promptly regretted its utterance? I often jinx myself with these kinds of pronouncements, also known as “famous last words.” Usually, when I begin a sentence with “I won’t” followed by “get lost,” “be late,” “cut myself,” “fall off this box,” “regret this tattoo,” or “take an unreasonable amount of time to finish graduate school,” I basically ensure that I will.

If you google the phrase “famous last words,” you’ll find the following Urban Dictionary explanation: to say “famous last words” out loud is to invoke “a warning that following the course of action just mentioned will result in impending doom.”

But this is not a story about doom. No, wait. I take that back. It is a story about doom! It is also a story about setbacks, humility, learning, redemption, and WINNING TWO FREAKIN’ ICE CREAM MAKERS BECAUSE I’M FREAKIN’ AWESOME YA’LL!

I offer you Daisy’s long overdue Brooklyn Ice Cream Takedown Diary:

Thursday, June 27: I return to NYC after visiting my parents for 10 days and spend the next 4 days drinking heavily decompressing.

Monday, July 1: I finally get around to buying an ice cream maker for the Brooklyn Ice Cream Takedown on July 7th. Having the choice between a $59.99 machine, an $89.99 machine, and a $400 machine, I go for the least expensive model. “Frozen Treats in 20 Minutes or Less!” is prominently advertised on the box.  Feeling buoyant and unstressed, I am unconcerned by having never used an ice cream maker before (prior to this experience, I had only made ice cream the old school way by dumping the ice cream mixture into a metal pan, putting the metal pan in the freezer, and stirring it every 30-45 minutes to break up the ice crystals). I am certain that the ice cream maker will make this Takedown a cinch. I leave it unopened on the floor of my apartment.

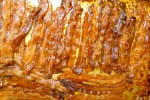
Tuesday, July 2: I confidently “chat” with Eryn at Ugly Food Tastes Better. She is in the competition too and is fretting about her freezer on the fritz. I mention that I am excited for the Takedown, especially given that the ice cream only takes 20 minutes to churn. I stretch and envision this being a walk in the park, a mere breeze after the HOURS spent baking 250 cookies for the Cookie Takedown or wrapping 250 little bacon candies until my fingers were aching and sore. True, I have to make two gallons of ice cream and the machine only churns 1.5 quarts at a time, but at 20 minutes a batch, I am confident I can knock out all 8 quarts on Saturday afternoon, the day before the competition.

In comparison, this will be so much easier, I say. Then I add the cursed phrase: “Famous last words, right?”

“Hahaha yeah!” Eryn laughs. Then she drops the bomb that shatters my smug peace and calm: “This one is time consuming because you have to refreeze the bowl 24 hours between batches.”

Omg. WHAAAAAAAAAAAAATTTTTTTTT????????????

I open up ice cream maker and swear that the i’s in “Cuisinart” are middle fingers.

The ice cream maker now sits in pieces on floor. There is the machine element, the freezer bowl, and the plastic dome that covers it all. I only have this one freezer bowl and it is not frozen. I also have a freezer so full of meat that I cannot even fit that one bowl in it. I officially freak out. I am in full panic mode.

At 4:30 am, I cave and order two more freezer bowls from Amazon. Overnight delivery. I pray that Amazon’s overnight delivery is really overnight delivery. When my neighbor across the hall wakes up later in the morning, I transfer the entire contents of my freezer to her freezer, shove the insulated bowl in it and wait.

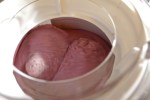
Wednesday, July 3: The extra freezer bowls arrive in the morning and after a whole day in the freezer, only one of the three seems to be frozen. I hear no sloshing when I pick it up and shake it. I attempt my first test batch around midnight, figuring that I can only do two, maybe three tests before having to pick a final recipe. Sadly, there is no time for tinkering, no time for research, no more time for consulting fellow bloggers and friends.

I decide on a custard based ice cream and my inaugural flavor will be Peach Bourbon Jalapeño.

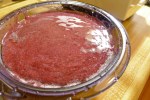
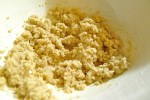
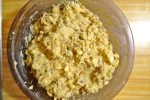
After much stirring, scorching, sieving, and saving, I come to the horrible realization that custard takes FOREVER to make! Worse, when I finally pour the ice cream mixture into the machine and turn it on, it churns for 20 minutes and produces no ice cream, only soup. It is not even the consistency of a smoothie.

Worst of all? The taste. My Peach Bourbon Jalapeño ice cream tastes like peanut butter-covered pepper jack cheese.

There is no peanut butter or pepper jack cheese in the recipe.

I start crying.

Thursday, July 4: I decide to start fresh in the morning with a different custard base. Test batch #2 is to be a fresh strawberry, balsamic vinegar, and black pepper ice cream. The custard tastes good. I pour it into the machine and turn it on. It churns for 20 minutes. I have soup. Again.

At least it’s delicious soup 😦

Three hours before needing to leave to meet up with Tomoko for fireworks on her rooftop, I decide it’s triage time. I don’t have any time left to set up two gallons worth of custard base. I basically don’t have time for anything cooked. My downstairs neighbor Niki lends me a copy of Martha Stewart Living with a special section on ice cream — the last resort. I thumb despondently through it and my eyes fall on a recipe for Blueberry Buttermilk Sherbet that requires no cooking. The buttermilk catches my attention because being so lean (buttermilk is mostly water), I know it will freeze hard and fast. Blueberries are in the market too, which is fantastic since there are so few elements in a sherbet that you want the best fruit you can find. Best of all? No cooking required.

I do a quick test batch. It sets up better than the custard based ice creams since there is hardly any fat (things that inhibit freezing are gelatin, alcohol, stabilizers such as invert sugars, fat, and sugar). Unfortunately, it is still way too slushy.

As for the taste? The sherbet is a pretty color, but there are too many seeds (blueberries have tons). It’s also too sweet. The lemon zest has clumped unattractively around the ice cream paddle and looks like something found in a drain.

I throw the test sherbet in the freezer and cry all the way to the Upper West Side. At Tomoko’s, we troubleshoot and decide that given the time constraints, a sherbet is still the way to go. We also conclude that the freezer bowls are not getting cold enough to freeze the mixture properly. It does not help that my apartment is too warm and the bowls are loosing chill faster than the ice cream can churn. I go home, throw out everything that can be tossed from my fridge, turn the temperature setting as low as it can go, and hope for the best.

Friday, July 5: After staying up doing research and reading about how to achieve a good, smooth texture, I do the following:

1. I get myself a freezer thermometer. It costs a whopping $2 and tells me exactly what I suspected it would tell me: my freezer doesn’t get cold enough to completely chill the ice cream maker’s insulated bowls 😦

2. I figure that since the ice cream maker can only make slush, the best way to break up the giant ice crystals produced is to churn it as best as I can, let it sit in the freezer for about an hour, stick an immersion blender in the half-set ice cream, whizz it to get a smoother consistency, and let the freezer freeze it the rest of the way. I think I got the idea from Southern Living, but I frankly don’t remember anymore.

3. Contrary to Martha’s recipe, I decide to sieve the blueberry purée twice. If I had the time and patience, I probably would have done it once more on top of that.

4. I add booze. Specifically moonshine. I briefly consider vodka but think moonshine is more interesting. Besides, nothing beats a hillbilly-themed table!

5. I add more lemon juice. The forecast for the Takedown is sunny and hot, and I want something tart and refreshing.

6. I follow Susan’s recommendation and add a stabilizer to enhance mouthfeel and improve texture. She recommends glucose and thankfully, Niki’s candy business has her swimming in glucose. I cadge a couple of cups off my neighbor and hope that the combination of alcohol and invert sugar will prevent crystallization and keep my ice cream stable in the heat.

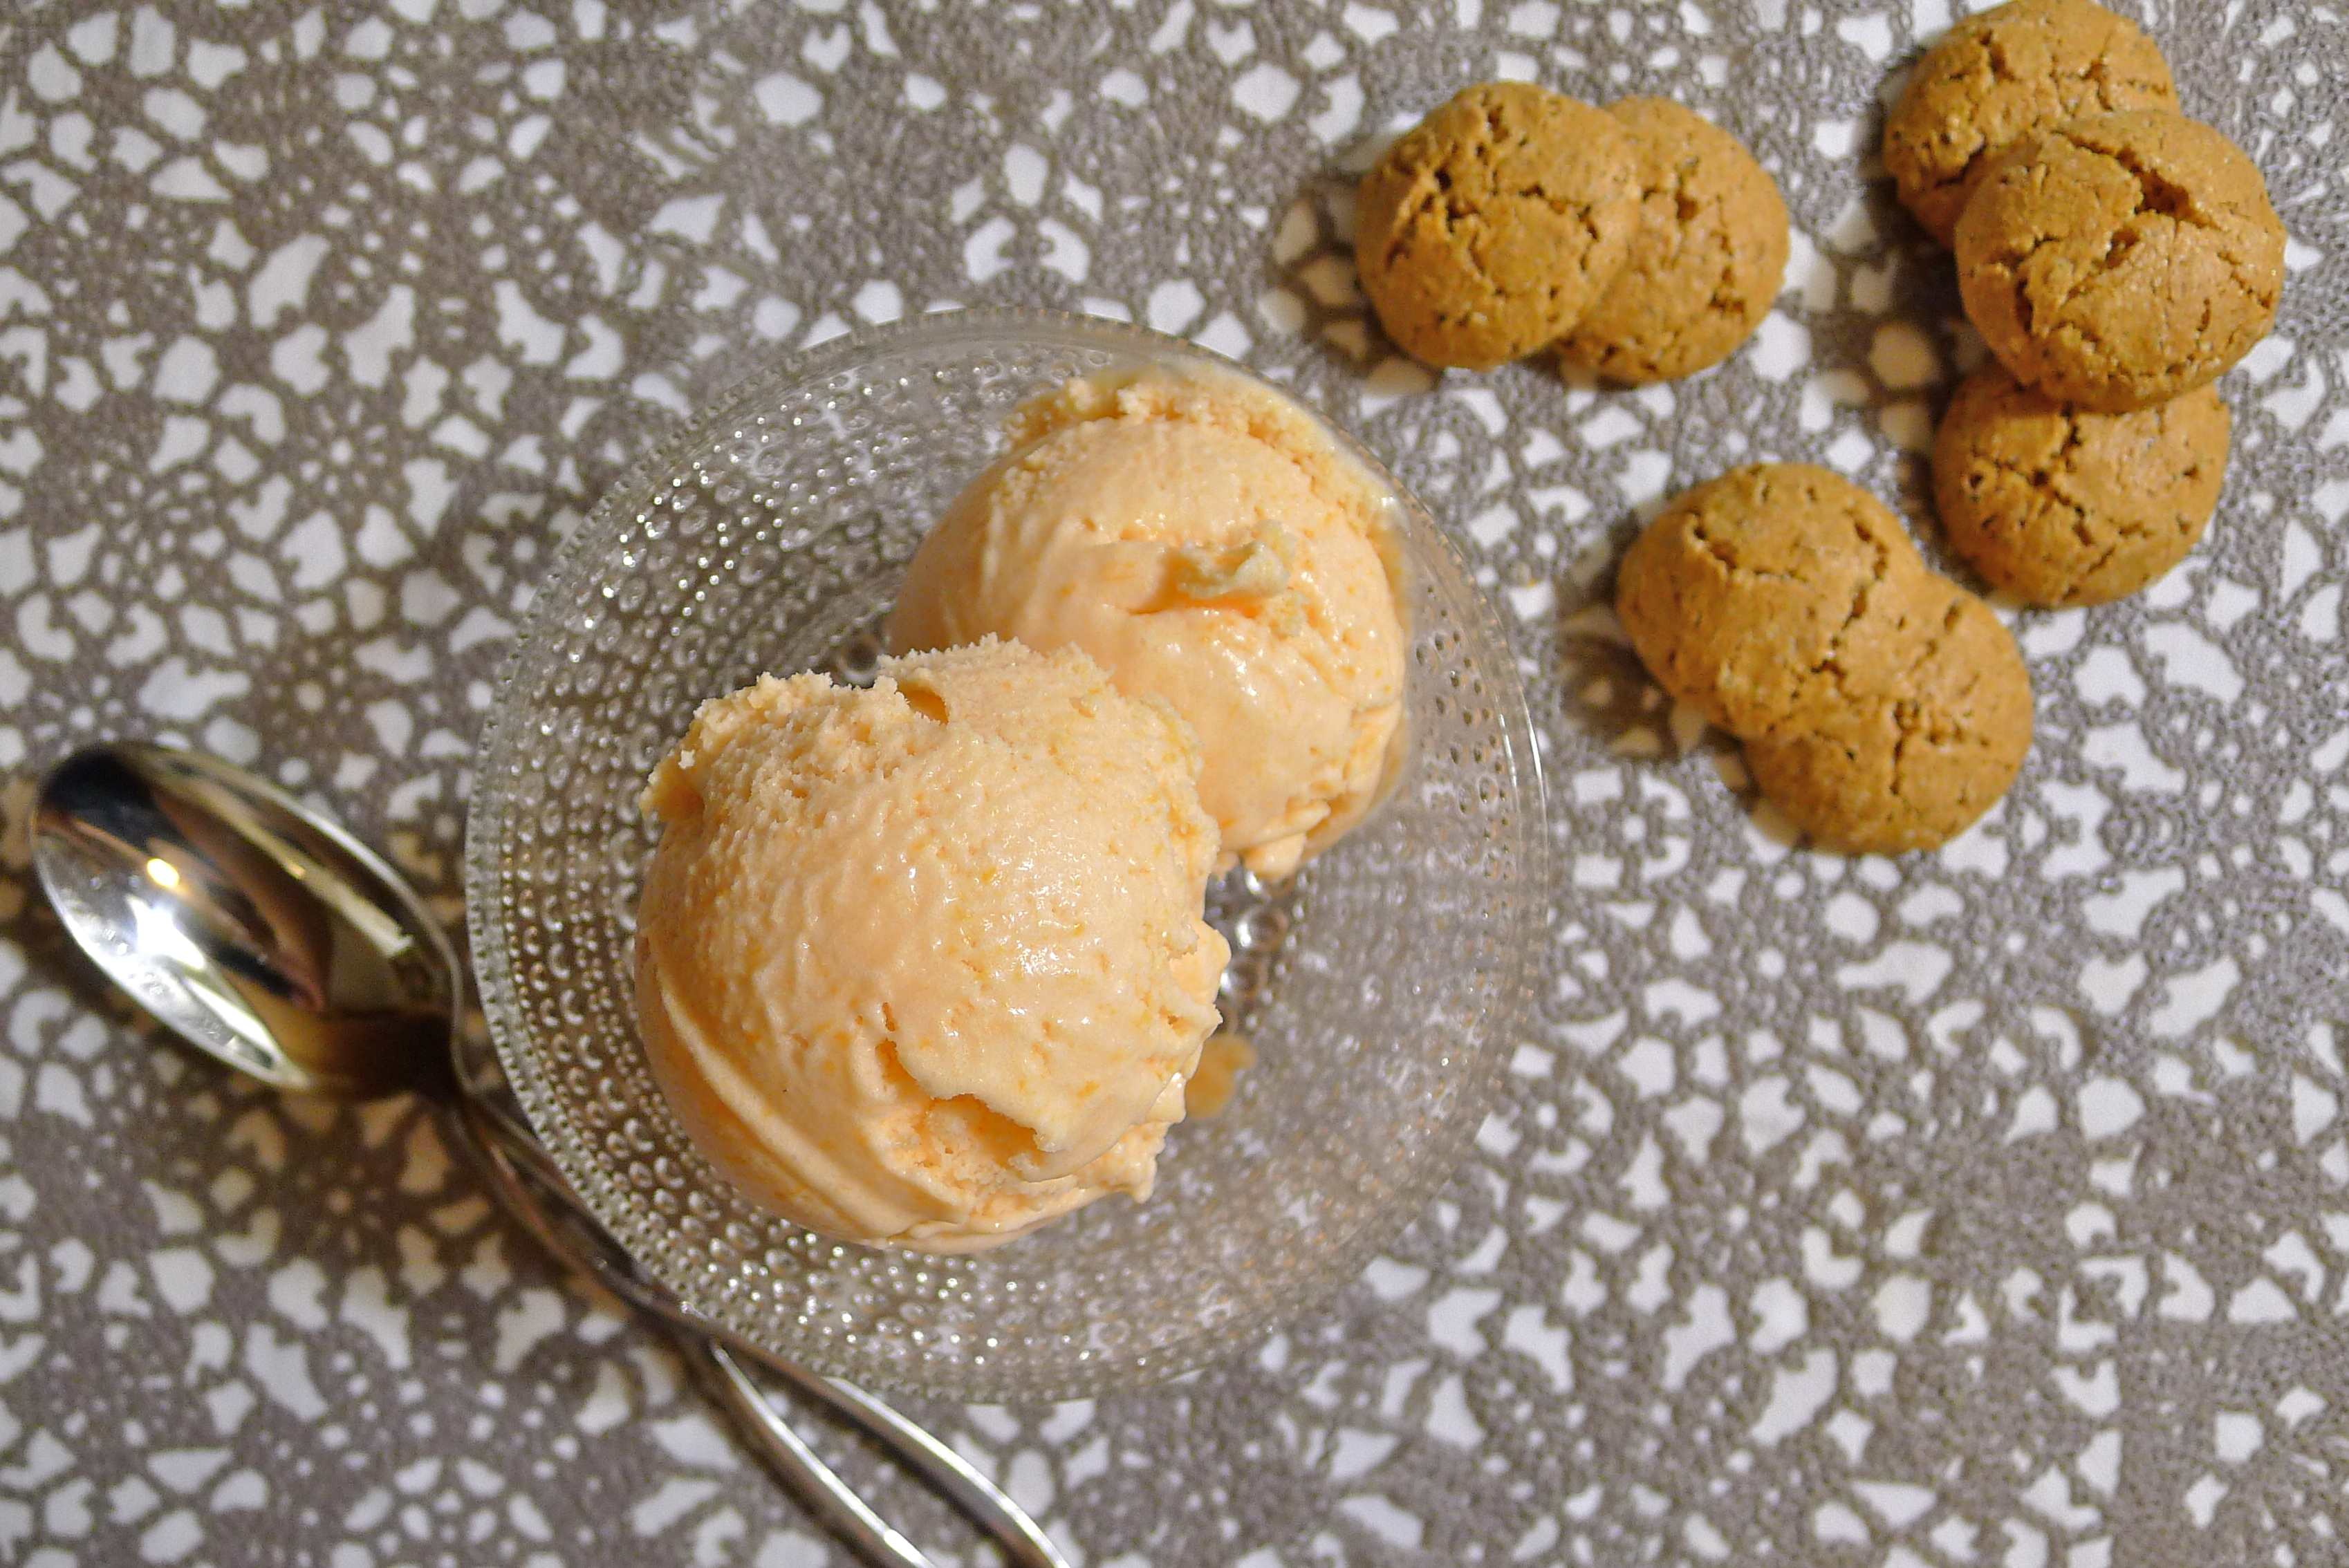
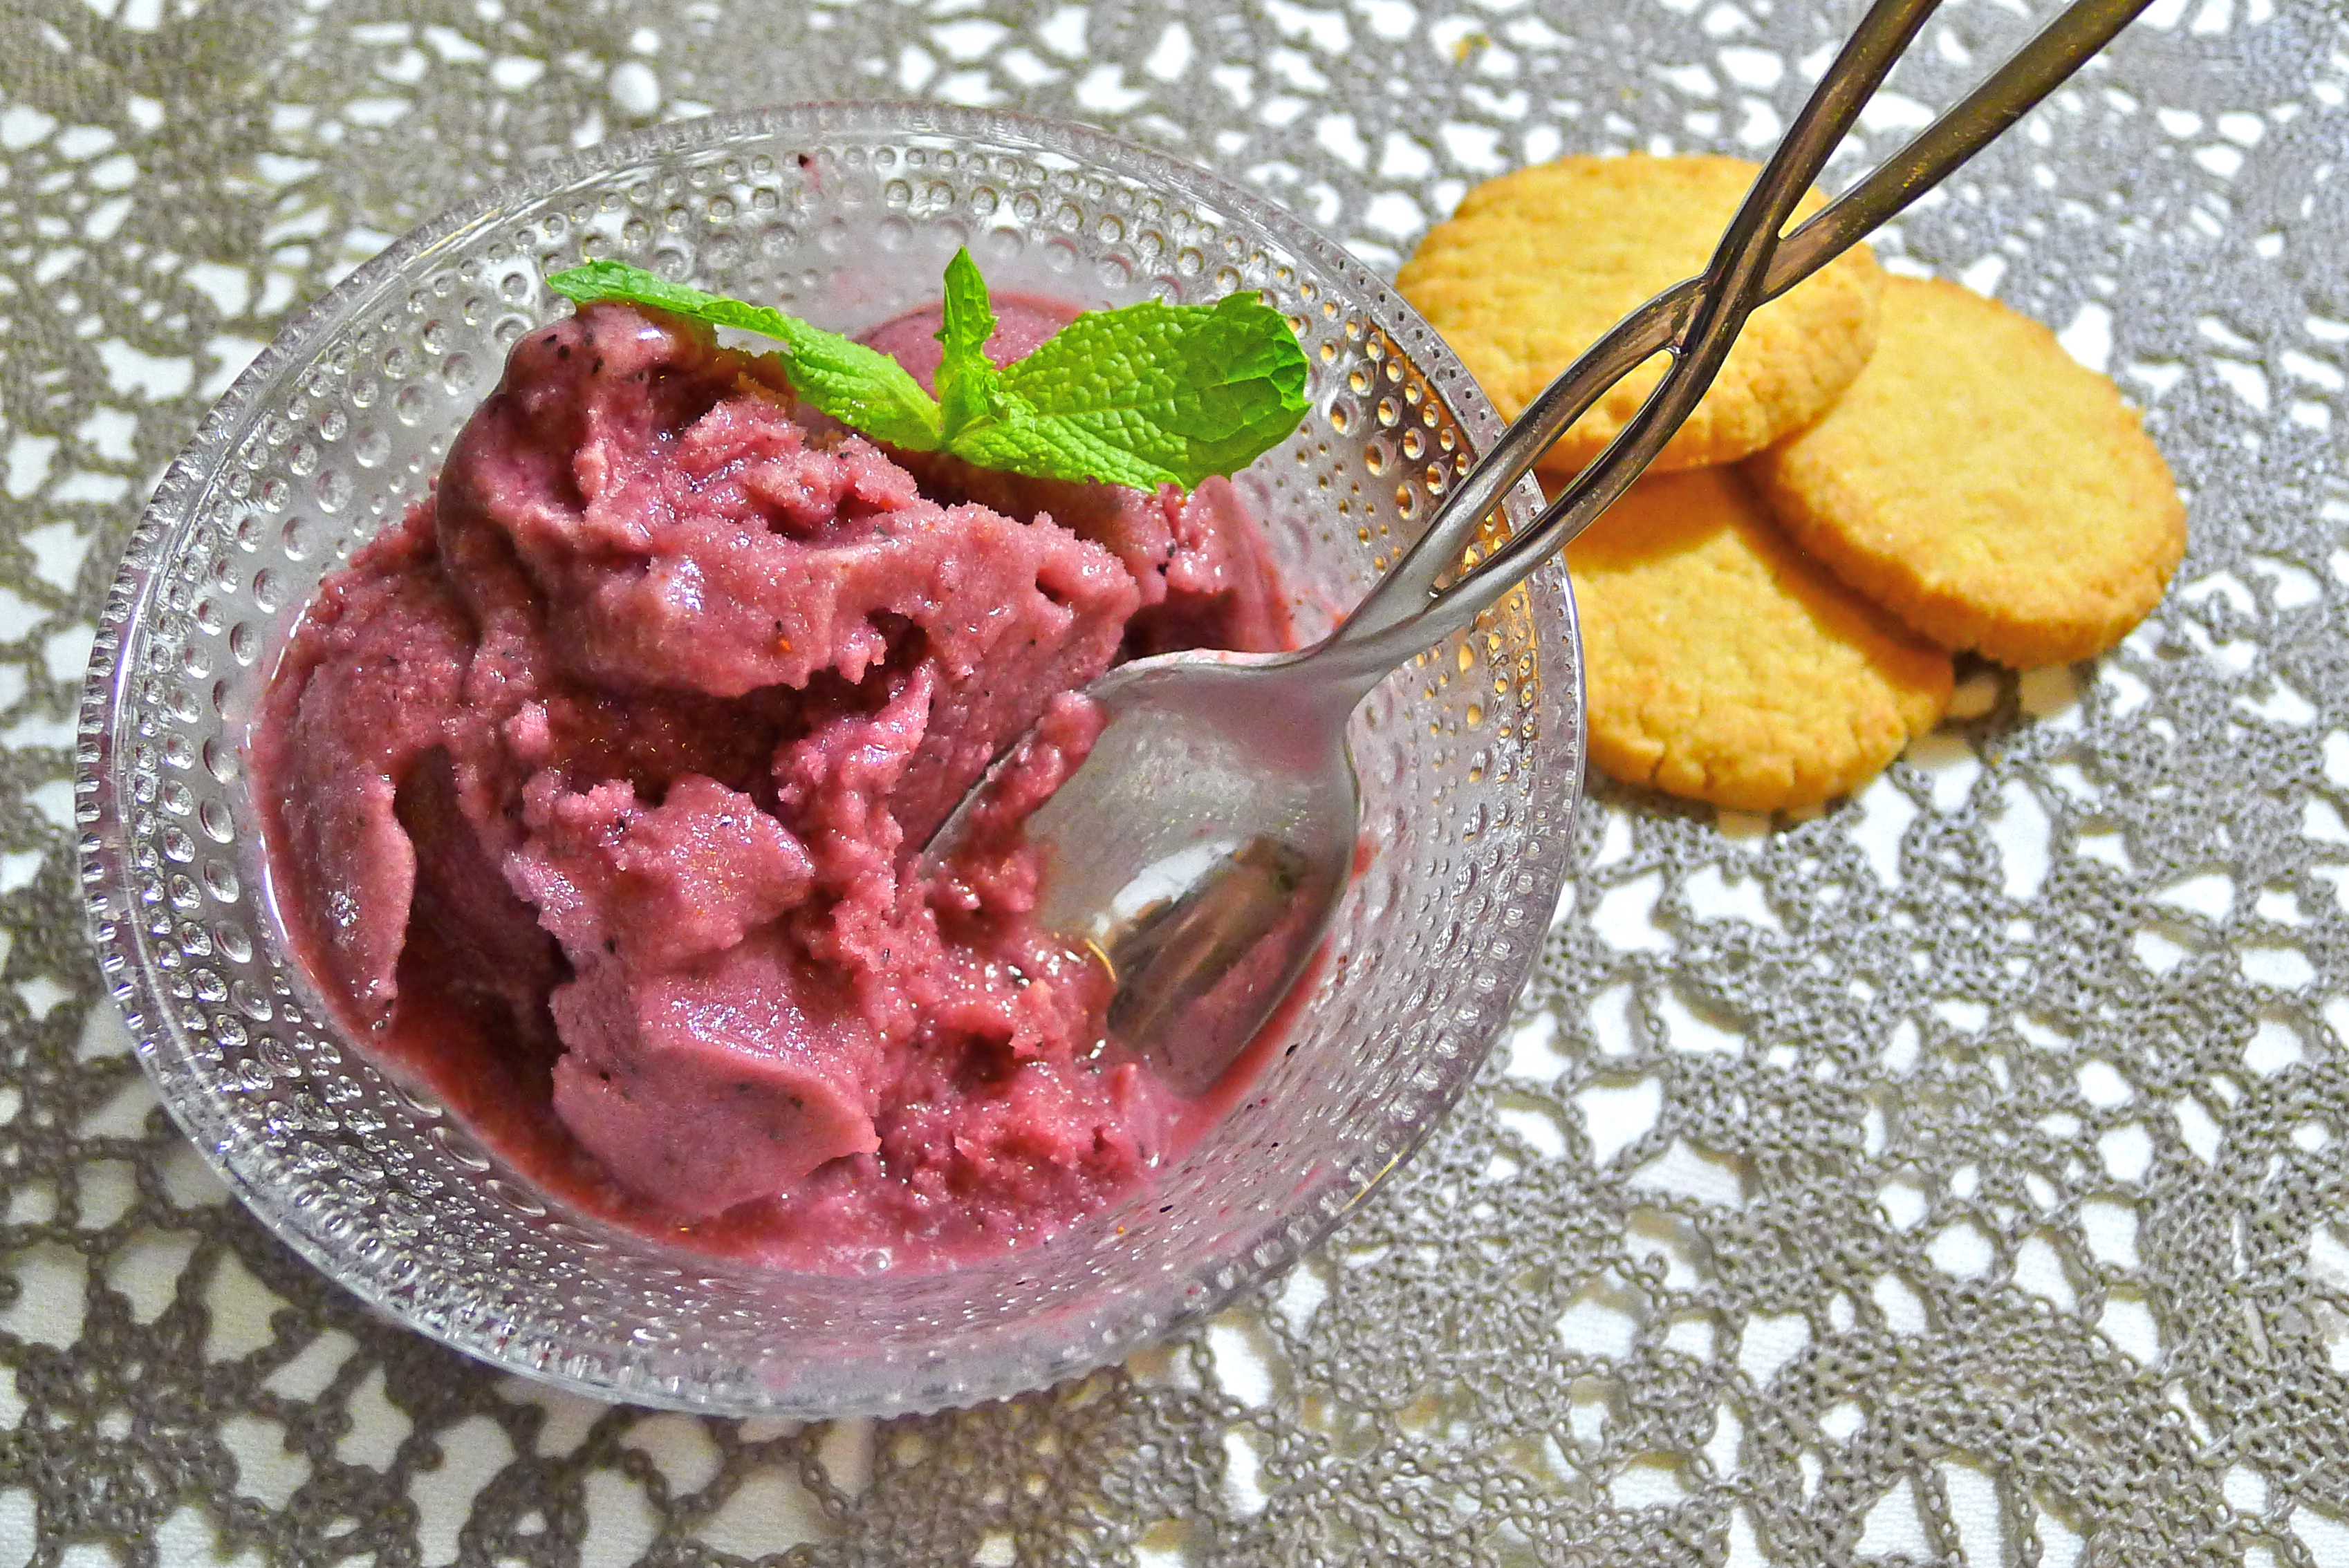
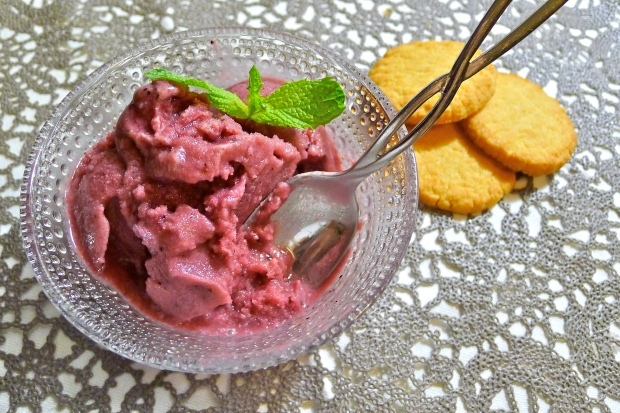
I put together my boozy blueberry buttermilk mixture, pour it into the machine, and lo and behold . . .

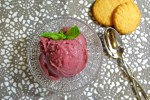
Houston, we have sherbet 🙂

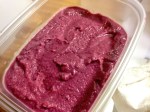
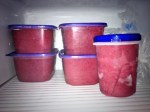
I crank out 4 quarts and put the bowls back in the freezer to refreeze.

Saturday, July 6: I crank out the remaining 4 quarts and collapse.

As for the competition results the following day? I am pleased to report it went well 🙂

Read more about it here.

* A very special thanks to Eryn for the heads-up about the machine! I would have been in serious trouble if not for you!

The next stand mixer I win is yours, Babe! 

And everyone should check out Eryn’s blog on which she has posted her recipe for Honeysuckle Tres Leches Ice Cream with Tres Harinas Cake Crumb and Red Fruit Compote. Delicious!

Special equipment:

A 1-1.5 quart ice cream maker

A fine-mesh sieve

A stick or immersion blender

Ingredients:

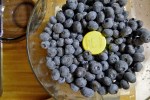
2 pints of fresh blueberries

1 cup of sugar

1 tablespoon of glucose or of another invert sugar such as light corn syrup (optional)

2 cups of buttermilk

2 tablespoons of moonshine or vodka

The juice of 3 lemons, strained

How to prepare:

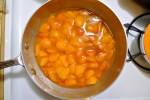
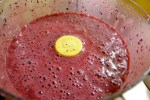
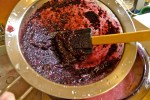
1. In a food processor or blender, purée the blueberries with the sugar and the invert sugar if using. Press the purée through a fine-mesh sieve with a silicon or flexible plastic spatula. Discard the solids and pass the purée through the sieve a second time to get the remaining seeds. You can even choose to sieve the purée a third time if you would like an even smoother texture.

2. Combine the purée with the buttermilk, the moonshine or vodka, and the strained lemon juice.

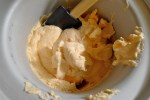
3. Churn the mixture in your ice cream maker according to the manufacturer’s instructions. If your sherbet fails to properly set up like mine did, churn it as best as you can in the machine, transfer it to a sturdy container, and let it harden in the freezer. After 45 minutes to an hour, use an immersion blender to blend the sherbet and break up any larger ice crystals. When the mixture is smooth, return it to the freezer to harden.

The finished sherbet will keep for about two weeks in the freezer.

Our Growing Edge

This blog post is also my first contribution to the amazing Genie De Wit’s Our Growing Edge. Our Growing Edge is a monthly event that aims to connect food bloggers, broaden our horizons, and encourage us to try new things.

Anyone can be a part of the party! For more information, please go to the page Genie has set up on her blog Bunny. Eats. Design.

This month’s host is Stacey from The Veggie Mama. Thank you so much Stacey! To take a look at the participating bloggers this month, click here.

Brooklyn Ice Cream Takedown Update: Blueberry Buttermilk Moonshine Sherbet Takes Home 2nd Place Twice!

They're taller than I am!
Dear Friends,

Here is the update on the Brooklyn Ice Cream Takedown last Sunday! As many of you know, this was my third Takedown, the first being the Brooklyn Bacon Takedown and the second being the Brooklyn Cookie Takedown.

Needless to say, I think that I have become addicted to the adrenaline rush of coming up with a recipe and prepping massive amounts (250+ samples) of it for a day filled with old and new friends, large quantities of booze, and lots of fun!

In all honesty, the event is kind of a blur to me since the participants had a head start on the open bar before the doors opened to the public. Once people started pouring in, I was drunkenly scooping like a fiend! There were so many people coming to the table at once that I didn’t even notice that Tyra Banks was there! In my hurry to get everyone served, I just plunked a sample cup on her plate, said that it was Blueberry Buttermilk Moonshine Sherbet, and waved her on.

Only afterwards did someone say, “Daisy, you just threw sherbet at Tyra Banks!”

Whoa!

The decision to make a sherbet was a last minute one, forced by an uncooperative freezer and a look at the weekend forecast which predicted a RealFeel afternoon temperature of 107°. Full details to be revealed when I post the recipe, hopefully later this week.

Unpacking at the venue, I was certain that my entry was too simple and too plain to attract much attention — even with the moonshine.* Win or lose, I thought, I learned so much about making frozen desserts and being surrounded by so many talented and creative home cooks was gravy. That made the experience well worth it.

In the end, guess who was awarded second place by the judges AND by the people? Me 🙂

What did I win? More ice cream makers!

Just what I need 🙂

Even though I didn’t come in first place, I was the only one to win in both categories and the only one to take home two machines! However, I do have to give a shout-out to all the other incredible cooks. The team next to me actually made 275 cannoli shell ice cream cones. Isn’t that amazing? Other contestants make jam toppings and delicious drizzles in squeeze bottles. As for the two first place winners? Angie Anicgacz’s Lemon Meringue Pie Ice Cream and Russell and Karen Berger’s Butterscotch Beatdown were truly divine!

So what about those two ice cream makers? I kept one and gave one to my ice cream bitch helper and good friend, David. He earned it for coming to my apartment early and schlepping all my stuff to the event like a trooper!

Then I went home and collapsed.

The Takedowns are the brainchild of my friend, the incredibly gracious Matt Timms. He is certainly the host with the most and it has been wonderful to see him and his events get such great press. I’ve never known anyone to walk away from a Takedown unhappy and this event was no exception. Thank you, Matt!

For those of you who are interested, here are some links with much better write-ups than my own!

Wall Street Journal Metropolis Blog
Second article in the Wall Street Journal
Local Bozo
Jennifer Baker: A Baker with an Appetite for Writing
Brooklyn Exposed
Serious Eats

* Yes, there was real moonshine in the sherbet! No, I did not make it. Yes, you can absolutely buy corn whiskey. It comes in Mason jars 🙂

Come cheer me on at the Brooklyn Ice Cream Takedown on July 7th!

I scream, we all scream for ice cream!
Dear Friends,

It’s that time again where I make an absurd amount of something crazy for your tasting benefit! Come cheer me on at the Brooklyn Ice Cream Takedown on Sunday, July 7th.

Tickets go quickly so I’m letting you all know now. Please bring your friends and vote for me!

Mama needs a new stand mixer 🙂

Tickets available here.

Miso Awesome Cookies

Who's so awesome? Miso awesome!
For my first post of the new year, I am going to wrap up the remainder of business from the last: my Miso Awesome Cookies!

Come to think of it, this post should actually be called:

Dr. Daisy or: How I Learned to Stop Worrying and Love the Cookie 🙂

(any Kubrick fans out there? anyone?)

When I entered the Brooklyn Cookie Takedown last month, my first thought was to make a truly trashy cookie packed with milk chocolate chips and Fritos. Doesn’t that sound awesome? Then Dave C. suggested the combination of dark chocolate and nori. Suddenly, the vision of an Asian cookie coalesced in my mind. I was unable to get the idea of an umami-amped chocolate chip cookie out of my head.

I went to the Japanese market that weekend and got shredded nori and white miso. I added them to a chocolate chip cookie recipe for which I swapped out the walnuts for soy sauce-roasted almonds. Et voilà!

I made inedible choco-chip seaweed hockey pucks 😦

That was my first attempt at baking cookies for the Brooklyn Cookie Takedown, one of nine.

Yes, dear Readers, it took me nine test batches to get the hang of this whole cookie business because I am really not a very good baker or cookie maker 😦

Actually, before the Takedown, I always took a pass on baking cookies because I was so bad at it! Once, I made a delicious double-chocolate chip cookie by accident. Unfortunately, in my excitement, I didn’t take notes on what I did. That experience will sadly never be replicated.

These are some of the reasons why almost all my cookie efforts prior to the Takedown did not work out:

• I never let the butter soften. That meant that whenever I tried to properly cream it, I would end up with butter blobs on the wall, on my glasses, in my hair, and sugar all over the floor.

• I never sifted the dry ingredients together because I was too lazy. I also never learned how to properly measure flour.

• I chronically overbaked because I could never shake the feeling that cookies had to be nice and golden on top. It works for chicken, why not cookies?!

• I would just use one cookie sheet, which meant that I was baking forever. Furthermore, I never let the sheet cool down before I plunked more cookie dough on top of it.

How did I improve?

After test batch #5, I decided to finally do it right. I started by hitting the cookbooks.

Here’s what I learned:

• Suck it up and sift 🙂 You don’t need to buy a fancy sifter, just a mesh strainer and a sheet of wax paper will do. You would never think it makes much of a difference, but it does.

• Instead of measuring flour by volume, weigh it. According to Cook’s Illustrated, one cup of all-purpose flour should weigh about 5 ounces.

• Cut cold, hard butter into small cubes. The butter will soften faster that way.

• Don’t overwork the butter. The longer you cream the butter and sugars together, the more air you beat into the fat. The more air that you have in your fat, the more your cookies will spread out while baking.

• Eggs blend better when they are at room temperature.

• Ideally, you should let your dough rest overnight in the refrigerator. Barring that, at least let the dough chill completely, about 3 hours. Properly chilled dough also helps ensure that your cookies don’t spread out too much.

• Do not overwork the flour. The longer you take combining the wet and the dry ingredients together, the tougher your cookies will be.

• Never arrange cookie dough on hot cookie sheets. The cookies will begin cooking on contact. Not. Good.

• Work with a minimum of 2 cookie sheets, that way you can have one cooling down while the other one is in the oven. To have four sheets is ideal because you can have two sheets cooling while two are baking in the oven.

• If you check the cookies and think that maybe you should leave them in a little longer, override your instinct and pull them out of the oven! They will continue to cook on their sheets for a few minutes more. (Thanks for the tip, Tomoko!)

• Like pancakes, be prepared to ruin the first batch as you adjust your baking times for your cookie size, cookie sheet material (light versus dark sheets), and oven (mine runs a little hot).

How I finally came up with my cookie recipe:

Now all this might sound elementary to you Awesome Cookie Bakers, but it was a revelation to me. Once I figured out what I was doing wrong from a technical standpoint, I made another batch of chocolate chip-nori cookies. You know what? They were disgusting! Now I know why there are no chocolate and roasted seaweed cookie recipes out there: they’re gross!

Back to the drawing board. Standing in the Japanese market again, I was trying to think about what else could go in a cookie. Wasabi peas? Why not! As wasabi is actually not a particularly strong taste, I swapped out the dark chocolate for white chocolate.

From the chocolate chip-nori hockey puck recipe, I kept the tamari almonds and the white miso paste.

From now on, I may always drop a dollop of white miso paste into my cookies. It doesn’t seem to add any noticeable miso flavor, but it definitely makes the taste of everything else in the cookie pop.

Even though this is the recipe for my not-award-winning cookies, I still feel like I won because I learned so much. I overcame my fear of baking, and I came up with something crazy that was also delicious!

Ingredients:

3 cups of all-purpose flour

1/2 teaspoon of baking powder

1/4 teaspoon of baking soda

2 sticks of butter (16 tablespoons), cut into cubes and at room temperature

1 1/4 cups of white granulated sugar

2/3 cup of light brown sugar, packed

2 eggs at room temperature

1/2 teaspoon of vanilla extract

4 tablespoons of white miso paste

4 teaspoons of wasabi paste

8 ounces of white chocolate chips

8 ounces of tamari almonds, roughly chopped

8-9 ounces of wasabi peas

How to prepare:

1. Sift together the dry ingredients.

2. In a large mixing bowl, cream the softened butter and the sugars together for no more than one minute.

3. Beat the eggs, one at a time, into the creamed butter-sugar mixture. Add the vanilla, the miso and wasabi pastes. Continue beating for another minute or two.

4. Using a stiff spatula, fold in the dry ingredients a little bit at a time.

5. Once all the dry ingredients have been incorporated, fold in the white chocolate chips, the chopped almonds, and the wasabi peas. Once the all the goodies are evenly distributed throughout the dough, cover the bowl with plastic wrap. Let it rest in the refrigerator for at least 3 hours, or overnight if you can.

6. If your heating element is on the bottom of your oven, move the oven racks to the top of it. Pre-heat the oven to 325°.

7. I used a melon baller to make smaller cookies for the competition, but if you want larger cookies, use a tablespoon or a small scoop. Drop the balls of dough about two inches apart on parchment paper-lined cookie sheets.

8. Bake the cookies for 4 minutes. Rotate the sheets 180°, moving the top cookie sheet to the lower rack, and the bottom cookie sheet to the upper rack. Bake the cookies for another 4 minutes. If your cookies are larger, you may need to bake them for a little longer. When the cookies are done, they should be just barely golden around the edges. The centers should be soft, but not raw. Take the cookies out of the oven and let them rest on the cookie sheet (they will continue to cook) for a minute or two before transferring them to a wire rack to cool completely.

Update: Brooklyn Cookie Takedown 2012

Who's so awesome? Miso Awesome!
Who’s so awesome?
MISO AWESOME!!!!!!!

My Takedown cookie entry was:

white chocolate chips + white miso + wasabi peas + tamari almonds.

Even though I didn’t win with that crazy combination, I had a great time and learned a lot about baking cookies. Recipe and baking tips to follow soon.

Thanks to Dave C. for the inspiration, and Dave L. for being the best darned cookie assistant ever.

For more, check out Maestro Extraordinaire Matt Timms’ Takedown site here.

And the Miso Awesome Fantastic Duo gets a nice shout-out on LocalBozo here (with more photos!).

Tickets still left to see me at the Brooklyn Cookie Takedown on December 16!

COOKIES!
As if I didn’t learn my lesson the last time . . .

I will be competing in this year’s Brooklyn Cookie Takedown! Just like the Brooklyn Bacon Takedown: 300 samples, but minus the bacon.

Come out and cheer me on! I’m not the best baker or cookie maker on the planet, but I can guarantee you something weird, wacky, and hopefully tasty!

The Takedown is scheduled on December 16, from 2:00-4:00 pm at the Bellhouse in the Gowanus. The organizer has informed us that there are only 35 tickets left so move fast! Tickets are only $15 and gets you samples of 30 competitors’ cookies + unlimited Bulleit Bourbon eggnog.

To buy tickets, click here!

Cyber Monday: My Takedown Maple-Candied Bacon and Spiced Pecan Nougat Is Now For Sale!


Just in time for the holidays!

This addictive combination of maple sugar-candied bacon, Ancho chili and cayenne pepper-spiced pecans, and Bourbon nougat was created for the Brooklyn Bacon Takedown with the help of my downstairs neighbor, a professional candy maker.

I posted the labor-intensive recipe here, but who has the time to candy, sit, stir, and wrap for hours?

Let us do it for you! We’ll candy that bacon into submission and pack it up pretty so the only work you have to do is eat it 🙂

This season, give the gift that everyone loves. Give bacon!

Order from Sweetniks.com or Sweetniks on Etsy here and here.

(I would also recommend all the candies on the site. Everything Niki makes is beautiful and delicious!)

* Photo courtesy of Sweetniks.com.

Maple-Candied Bacon and Ancho Chili-Spiced Pecans in Maple-Bourbon Nougat


Today is another day of post-Sandy displacement. I have spent the morning plodding around my friend’s apartment in a trench coat because I didn’t bring a bathrobe with me and the mercury is dropping.

“I know you have something underneath,” she said, “But it still kind of freaks me out!”

Thankfully, this retro-pervert look won’t last much longer since my laundry is almost done drying downstairs 🙂

Instead of repeatedly checking the New York Times Liveblog for power, cellular service, and transportation updates, I have decided to put my mandatory stay-cation to good use: I will wrap up some blog posts that have been sitting in draft limbo! This one was slated to go up right after the Brooklyn Bacon Takedown, but sadly got postponed following a visit from my mother and an anticipated visit from my father.

Prior to settling on this recipe, I bopped around a bunch of ideas for the Takedown. I thought about making bacon-crusted, bacon-fat fried chicken, but decided that fried food was kind of risky for a multi-hour event. Then I had this idea to make mini bacon-Velveeta éclairs. However, the idea of hand-piping about 300 little choux pastries felt too ambitious. Then I considered making bacon-pecan sticky buns in a giant tray, but worried about even baking. In the end, I went with individually wrapped nougats, reasoning that having everything done ahead of time would ultimately be less stressful the day if the event.

Even though I didn’t win, I was very happy with the candies — which I thought were amazing. The spiced nuts and the candied bacon were a delectable combination, and the nougat was divinely fluffy.

The results were so good that a re-worked, more Bourbon-y version will probably appear on my friend’s website to be sold. Another batch will need to be made and photographed for the site first, which means that a larger circle of friends — including dear ones in Europe — can expect a little present in the mail probably before Thanksgiving. I would have sent along some of the remaining candies from the first, but it took me a while to get organized after the event. I worried that they wouldn’t survive the long trans-Atlantic shipping, and the speed of domestic mail won out!

Again, many congratulations to Adrian Ashby for winning People’s Choice with his Sex-In-Your-Mouth Bacon-Nutella Brownies. Although I can be wickedly competitive, the sight of a man crying out of happiness at the sight of a giant check for a year’s worth of bacon cannot help but melt my heart!

For more photos of the event, click here.

Ingredients:

For the maple-candied bacon:

1 pound bacon

1/4 cup of maple syrup

2 tablespoons of  maple sugar

For the ancho chili-spiced pecans:

8 ounces of roughly chopped raw pecans

Maple syrup

A pinch of cayenne pepper

A pinch of salt

1/2 teaspoon of Ancho chili powder

For the nougat:

2 egg whites at room temperature

1 1/2 cups of sugar

1/4 cup of maple syrup

3/4 cup of light corn syrup

1/2 cup of water

1 tablespoon of corn starch

1 tablespoon of Bourbon

Special equipment:

A heavy-duty stand mixer

A candy thermometer

Parchment paper

Non-stick spray

How to prepare:

1. Preheat oven to 400°. Arrange the bacon in a single layer on a half-sheet pan. Roast the bacon for about 20 minutes to render the fat. Lower the oven temperature to 350° and remove the bacon from the oven. Pour off the liquid fat. Brush the bacon on both sides with 1/4 cup of maple syrup. Evenly sprinkle 1 tablespoon of maple sugar onto the bacon. Return the bacon to the oven and roast for 15 minutes. Flip the bacon and sprinkle the other side with the remaining tablespoon of maple sugar. Continue roasting the bacon until the sugars have caramelized and the bacon is crispy, about 15-20 minutes more. Let the bacon drain on a wire rack until it is cool enough to handle. Using scissors, cut the bacon into small pieces.

2. Drop the oven temperature to 300°. In a small baking dish, very lightly drizzle the pecan pieces with maple syrup. Add the cayenne pepper, salt, and Ancho chili powder. Toss everything together until the nuts are evenly coated with the maple-spice mixture. Roast the nuts carefully, stirring them every 5 minutes or so until they have a candy coating. Remove from the oven and spread the nuts out on a large piece of parchment paper to cool.

3. Take the eggs out and set them on the counter. Line a pan with parchment paper so that the paper comes up and over the sides. Lightly coat the paper with non-stick spray and a light dusting of cornstarch.

4. In a medium saucepan, combine the sugar, the maple syrup, the corn syrup, the water, the Bourbon, and the corn starch over medium heat. Stir occasionally until the sugar has completely dissolved and the mixture becomes smooth. Insert a candy thermometer. Do not stir anymore.

5. When the temperature reaches 240°, separate the egg whites into the bowl of a large standing mixer. Begin to slowly whip the whites. Try to time it so that the egg whites make soft peaks at the same time that the syrup reaches 285°.

6. When the syrup reaches 285°, remove it the stove. With the mixer now on high speed, slowly add the syrup to the whites in a steady steam. Continue mixing the nougat until it is shiny and glossy.

7. When the nougat is the right consistency, fold in the bacon and the nuts as quickly as possible. Turn the nougat out into the parchment paper-lined pan. Using oiled hands, evenly press it out. Let it cool completely, about 2-3 hours.

8. When the nougat is cool, cut it into 1-inch pieces.

Brooklyn Bacon Takedown Update: I Will Win Next Year!!!!!


Yes, dear Friends and Readers: I made an Maple-Candied Bacon and Ancho Chili-Spiced Roasted Pecans in Bourbon-Maple Nougat with a touch of Sea Salt and I lost!

But I had a great time and met tons of people. Here’s to next year’s Bacon Takedown, and to beating the pants off my new friends!

(not in an inappropriate way)

Recipe and more forthcoming!